
 RSMUS.com
Installing Solution7
Installing Solution7 requires downloading multiple application files and entering some information, but it is relatively simple as a whole. This section will go step by step into that process.
Requirements:
- Solution7 Application
- Solution7 License
- NetSuite SuiteAnalytics Connect
- ODBC
- Microsoft Excel
We will go through accessing these things and downloading them, as well as getting S7 Setup.
Download Solution7
- Go to solution7.co.uk and go to ‘Downloads’

- Once in Downloads, click ‘Download’ next to the most recent version of the file name ‘Solution7 vX.XX – Excel Financial Reporting and Planning’
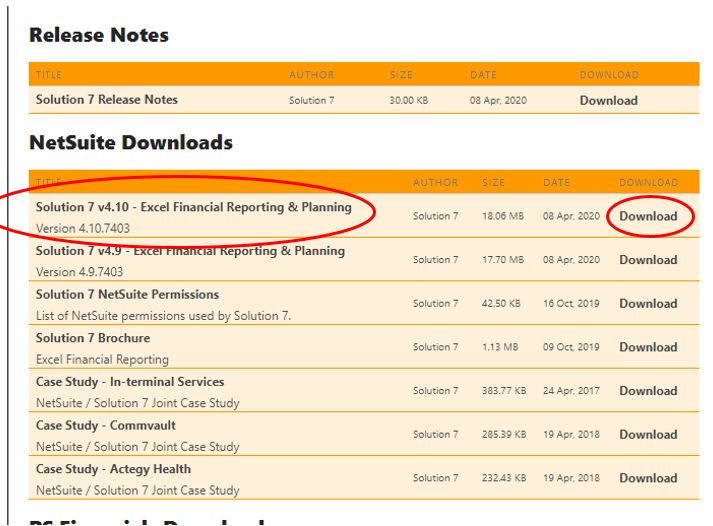
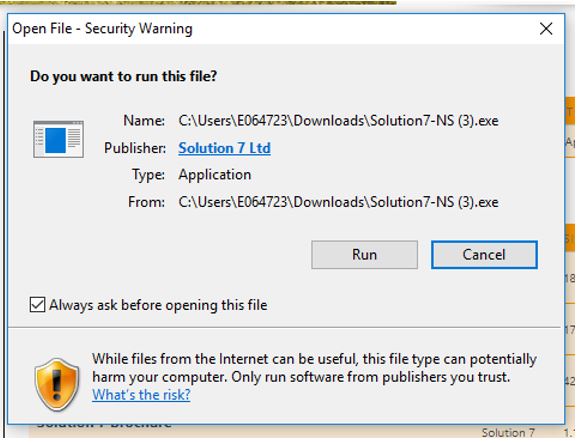
- The file should appear in your downloads. Once it is complete, run the file.
- After running the file, agree to the terms and conditions. Next, select the version – OneWorld or Standard. If you are unsure, login to NetSuite as an Administrator and navigate to Setup > Company > Subsidiaries. If ‘Subsidiaries’ is available, select ‘OneWorld’.
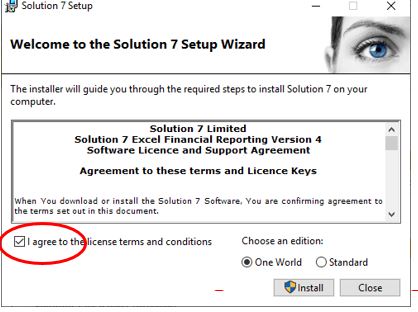
- Click Install. If Excel is open, this will fail. Make sure all windows of Excel are completely closed.
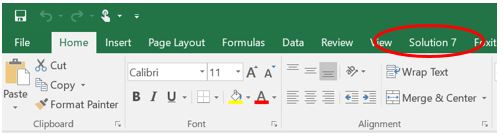
Note: Once installed, you should see the Solution7 tab in excel. If you do NOT, click on your Windows start button and search ‘Solution7 Add In’ and runt the Add-in Manager

Installing the ODBC
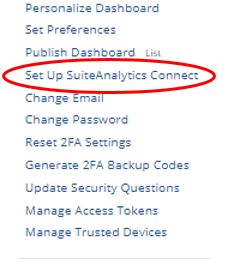
- Login into NetSuite and find the Settings portlet on your dashboard. Click on ‘Setup SuiteAnalytics Connect’
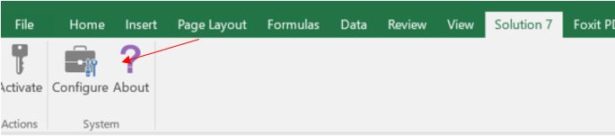
- NetSuite will now make you select 64 or 32 bit for the ODBC. If you do NOT know what your computer is, go into Excel and the Solution7 tab. Click ‘About’. This will tell you what your computer is.
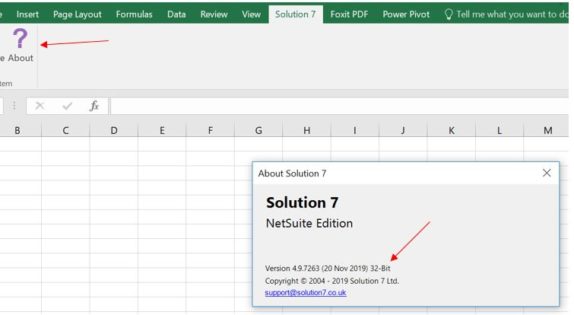
- Select the correct option. NOTE: 64 Bit can use either version. 32 bit can ONLY use the 32-bit version.
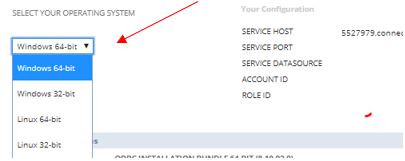
- Download the ‘Installation Bundle’ for the correct version. A zip file will download. Unzip this file to your Downloads.
- Open the ‘.exe’ folder
![]()
- The file will run. The ODBC should be all set now.
Setting up Solution7 in Excel
Once everything is all set up and downloaded, we actually need to connect to Solution7.
- Open Excel and go to the Solution7 tab. Click ‘Configure’
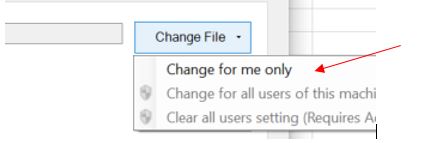
- On the ‘Configure’ dialog, select ‘Change File’ and then ‘Change for me Only’
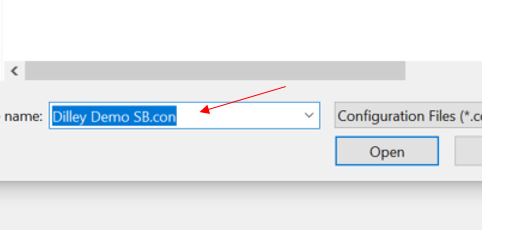
- This will open a File Browser. We are creating a connection file, so we want to make sure this is saved somewhere that can be EASILY accessed. We recommend having a ‘Solution7’ folder on your desktop. Once in that folder, type ‘CompanyName Solution7’ and add ‘Prod’ or ‘SB’ on to the end. We need to know if we are connecting to production or Sandbox.
NOTE: We will also want to Save our license file in that same location.
- Click ‘Open’. Now go back into NetSuite and back to the ‘Set up SuiteAnalytics Connect’ page. We will be going back and forth between Excel and NetSuite to get the information.
- Back in Excel, select the ‘ODBC’ in the ‘Data Provider’ field.
- Copy the value next to ‘Service Host’ from NetSuite and paste it into ‘Server’ in S7
- Select ‘User Name and Password’ from the ‘Authentication’ field in NetSuite
- Enter your NetSuite Username and Password in the following S7 fields.
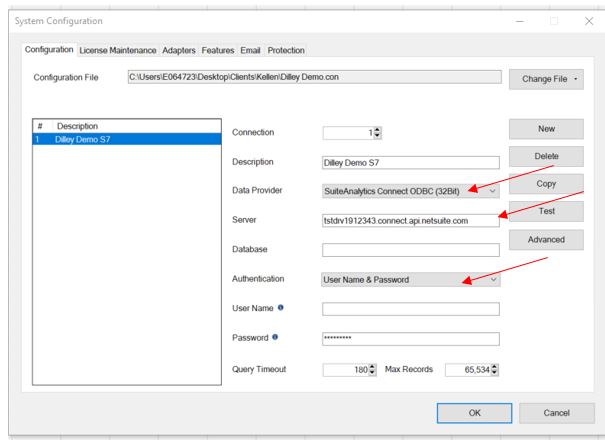
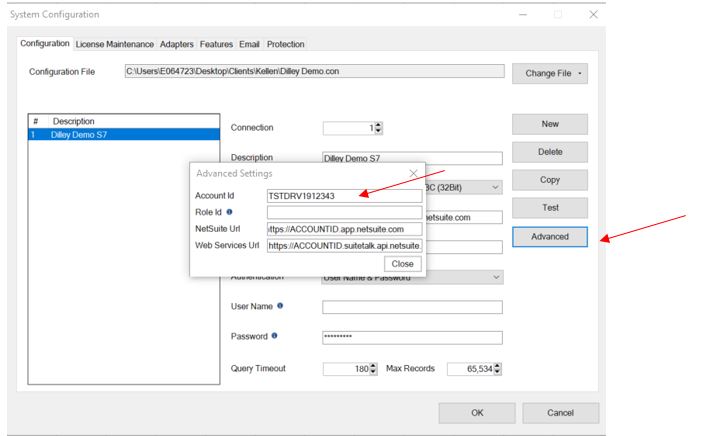
- Select ‘Advanced’ on the right-hand side.
- Enter the NetSuite Account ID into the ‘Account Id’ field in S7
- Enter the NetSuite Role ID into the ‘Role Id’ field in S7
- Paste your ‘Account ID’ into the allotted space within ‘NetSuite URL and ‘Web Services URL’
- Click ‘Close’
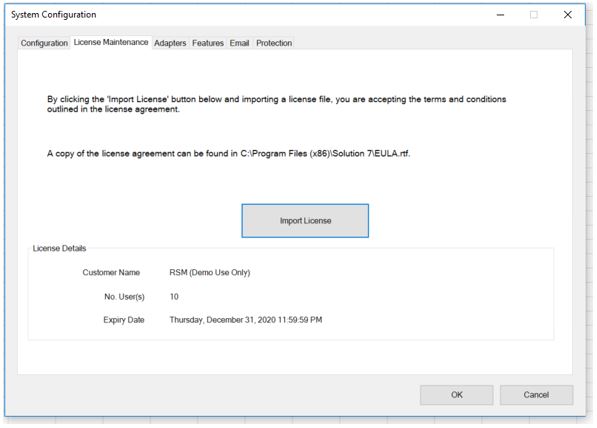
- Go to the ‘License Maintenance’ tab. Click ‘Import License’ and select your license file. Hit ‘Open’
- Go back to ‘Configuration’ and hit ‘Test’. It will prompt you if successful:
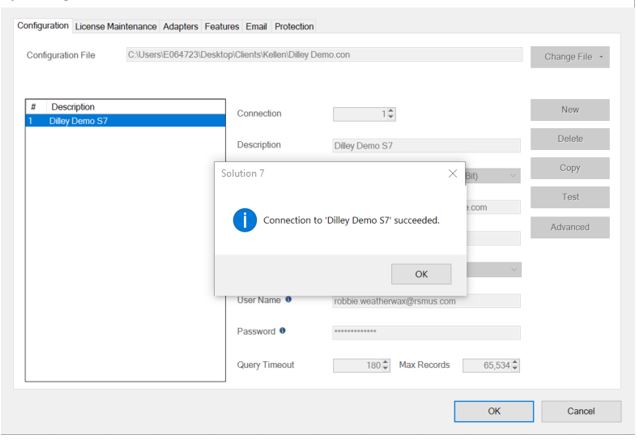
- Exit out of ‘Configuration’ and hit ‘Activate’. You should be all set!