
 RSMUS.com
Enabling Supply Allocation
To start creating Allocation Strategies, you will first need to enable features for Supply Allocation. Navigate to Setup>Company>Enable Features
- On the Items & Inventory tab, check the box for Supply Allocation
- Once the box is checked, a validation of existing data will be initiated, and any discrepancies must be resolved before proceeding.
- Once this feature is enabled, you are no longer allowed to update the expected ship date at the line level.

Setting Up Allocation Strategies
When getting started with setting up allocation strategies, NetSuite provides you with two predefined allocation strategies:
- Predefined Available Allocation Strategy– This strategy uses the Allocation Quantities setting to allocate any available quantities.
- Predefined Complete Allocation Strategy– This strategy uses the Allocation Quantities setting to allocate only complete quantities.
To create your own unique allocation strategy aside from this, you will navigate to Setup>Order Management>Order Allocation>New.
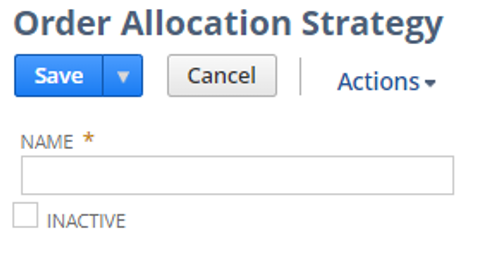
Once you are on the Order Allocation Strategy page you will need to fill out the following criteria:
- Name (This would be the unique identifier for your strategy) Note that if you no longer want the strategy, you can mark as inactive.
- To consider future inventory for allocation, under Inventory Options, check the Future Inventory This includes inventory that is on-order and in-transit, but not yet received. Note that inventory that is currently on-hand is always considered for allocation.
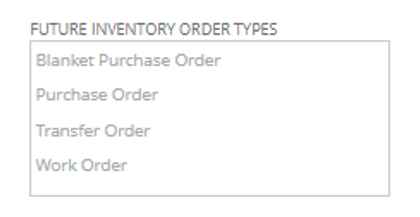
- In the Future Inventory Order Types field, click each type to consider for future inventory. To select more than one, press the Shift key and then click each item.
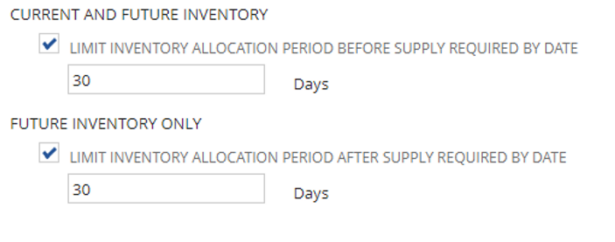
- Use the Allocation Period fields to limit the allocation of inventory by defining a specific period before or after the Supply Required by Date. Note if no allocation period is defined, this allocation strategy considers all inventory that is available to allocate.
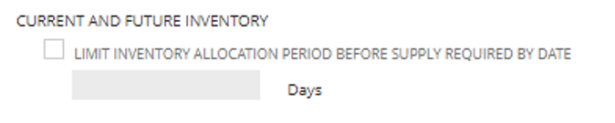
- To limit the inventory allocation to a period before the Supply Required by Date:
- Under Current and Future Inventory, check the Limit Inventory Allocation Period Before Supply Required by Date box.
- In the Days field, enter the number of days for the limited allocation period. The default value is 180 days. The maximum value you can enter is 9999.

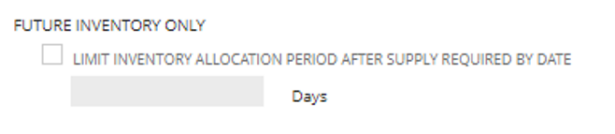
- To limit inventory allocation to the period after the Supply Required by Date:
- Under Future Inventory Only, check the Limit Inventory Allocation Period After Supply Required by Date box.
- In the Days field, enter the number of days in the period after the Supply Required by Date to consider. The default value is 0 days. The maximum value you can enter is 9999.
- To limit inventory allocation to the period before and after the Supply Required by Date:
- Check both boxes for limiting before and after Supply Required by date
- Check both boxes for limiting before and after Supply Required by date
- To limit the inventory allocation to a period before the Supply Required by Date:

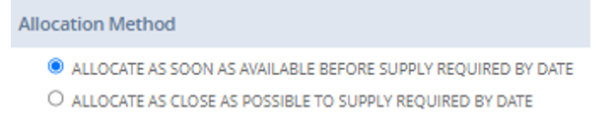
- Under Allocation Method, choose one of the following:
- Allocate as soon as available before required by date – allows you to allocate inventory based on the earliest available date
- Allocate as close as possible to supply required by date – allows you to allocate inventory to the closes date to the due date
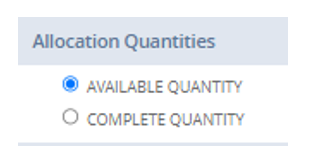
- Under Allocation Quantities, choose one of the following:
- Available Quantity– Allows NetSuite to allocation a partial quantity of items as soon as any portion of the total amount needed becomes available. NetSuite will allocate the remainder at a future time after another allocation calculation.
- For example, a sales order line needs 10 items. Only five items are available now to be committed. Using this setting, NetSuite allocates five items to demand on the line now and the remaining five in the future.
- Complete Quantity– Allocate items only when the total amount needed for the line is available for commitment. If only a portion of the full amount is available, NetSuite does not yet commit any of the items.
- For example, a sales order line needs 10 items. Only 5 items are available now for commitment. When you choose this option, NetSuite allocates 0 items to demand on the line now. No items are allocated against the demand until the full amount is available for commitment. NetSuite will allocate all 10 items in the future.
- For example, a sales order line needs 10 items. Only 5 items are available now for commitment. When you choose this option, NetSuite allocates 0 items to demand on the line now. No items are allocated against the demand until the full amount is available for commitment. NetSuite will allocate all 10 items in the future.
- Available Quantity– Allows NetSuite to allocation a partial quantity of items as soon as any portion of the total amount needed becomes available. NetSuite will allocate the remainder at a future time after another allocation calculation.
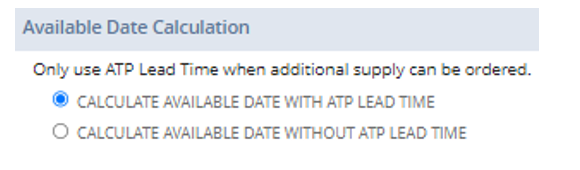
- Under Available Date Calculation, choose one of the following:
- Calculate Available Date with ATP Lead Time – to calculate the available date using available to promise lead time.
- Calculate Available Date without ATP Lead Time – to calculate the available date without using available to promise lead time.
- Under Allocation Type, choose one of the following to indicate the allocation type:
-
- Reserved Allocation – NetSuite commits inventory but can also reallocate it to other orders.
-
- Firm Allocation– NetSuite commits inventory and cannot reallocate it to other orders by the system. You can only reallocate this inventory manually.
-
- Firm Allocation– NetSuite commits inventory and cannot reallocate it to other orders by the system. You can only reallocate this inventory manually.

- Once all the criteria for your allocation is set, click save.
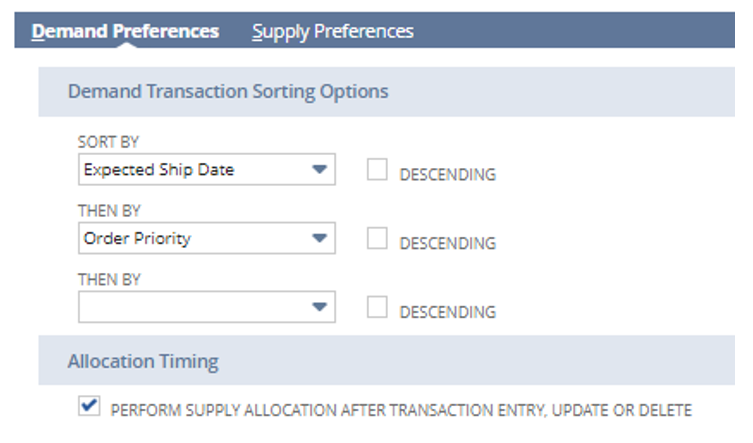
Once you have an allocation strategy you will want to setup your Demand and Supply Preferences. In the NetSuite User interface, you will navigate to Setup>Order Management>Supply Allocation. Here you will see Demand and Supply Preferences:
- Demand Preferences – This allows you to set demand transaction sorting options and timing of allocation processing.
- Supply Preferences – This allows you to set default allocation strategies per order type:

Allocating Orders
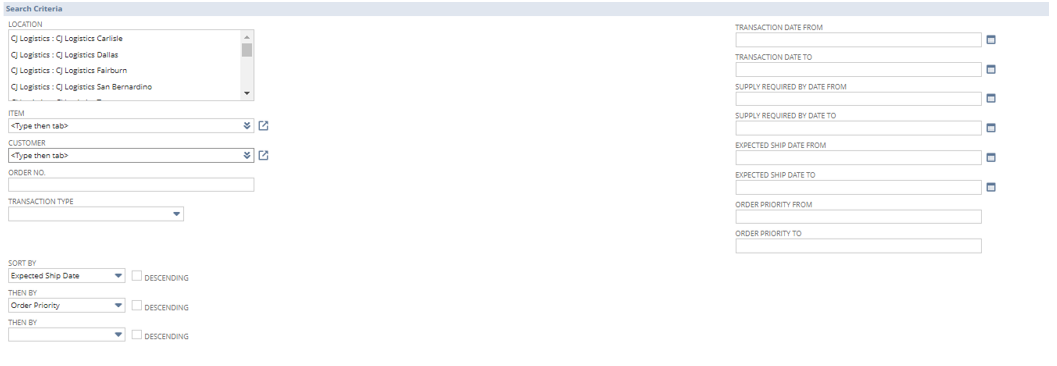
If you want to manually allocate orders, you will navigate to Transactions>Order Management>Allocate Orders. This will take you to the allocate orders module where you can select specific criteria for what you want allocated:
- Order Filters – This is where you will select your order criteria such as Subsidiary, Transaction type etc.
- Sorting Options – This is optional but provides an additional level of sorting options.
- Orders – The results populated based on additional options
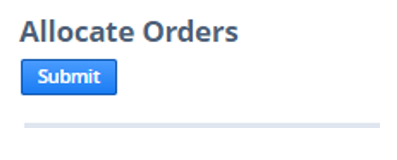
- Once you select the orders to be allocated, select submit at the top of the module to run the allocation (this will automatically take you to the allocation status module)


Scheduled Order Allocations
To create a schedule, you’d navigate to Transactions>Order Management>Allocate Orders>Schedule. The following steps are used in order to create a schedule:
- Select New Order Allocation Schedule
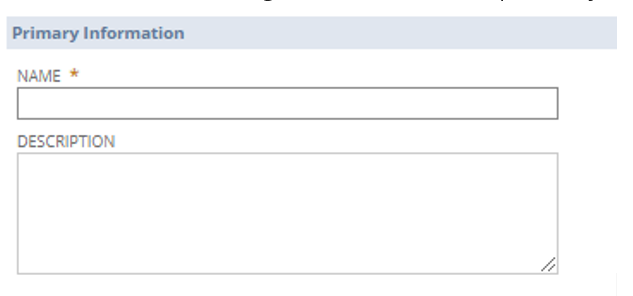
- Primary Information – Choosing the name and description of your Allocation Schedule.
- Schedule – This is the frequency of your schedule (Hourly, Daily, etc)
- Order Options – How will orders get recognized for the schedule.
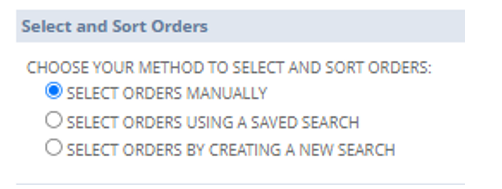
- Select and Sort Orders – How are orders being selected
- Search Criteria – Items used to further define search for orders needing to be allocated.
- Once you have successfully set up your allocation schedule defined by your business needs you can save the schedule.


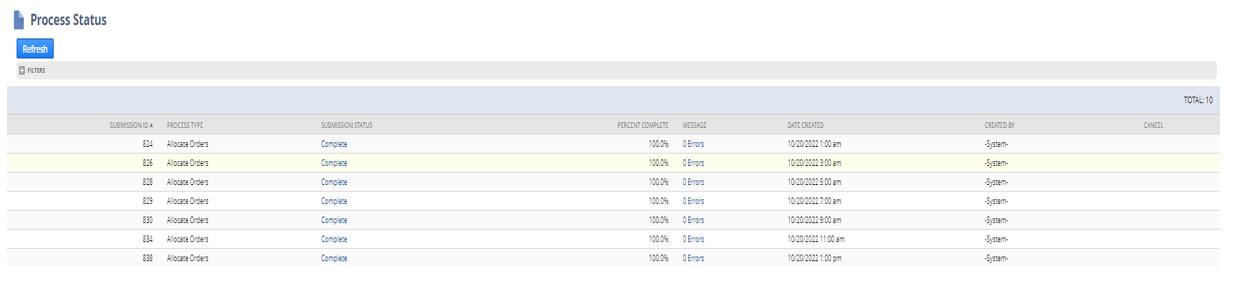
If you ever want to edit a schedule that was created, you can navigate back to the allocation schedule and edit schedules as needed. When you are wanting to check the status of scheduled or manual allocation processes you can navigate to Transactions>Order Management>Allocate Orders>Status:
To learn more about allocation strategies in NetSuite, contact our team today!

Brandon Dacres
I am a NetSuite Consultant in RSM US LLP’s managed technology consulting practice, where I focus on implementation. I have project experience implementing NetSuite in Consumer Products and Professional Services.