
 RSMUS.com
The Bank Feeds SuiteApp enables the User in NetSuite to automate the upload of their bank and credit card data directly from their financial institution account. It provides the ability to retrieve cleared and processed bank and credit card transactions daily from your financial institution accounts. This SuiteApp also automates the import of bank and credit card data and account balances daily for reconciling with NetSuite.
User Benefits of installing the Bank Feeds SuiteApp include conveniently connect to different financial institutions, automatic nightly import of bank data, daily update bank account balances, streamline bank reconciliation process, and bank-level security.
Prerequisites
- In order to get started with installing Bank Feeds you must have Server SuiteScript, Client SuiteScript, Custom Records, and Existing online Registration to your financial institution
- You will also need your Bank Credentials for logging in.
Getting Started
Before you can start using Bank Feeds there are 2 setup tasks to complete.
Step 1: Install the Suite App
To install the Bank Feed SuiteApp start by navigating to Customization > SuiteCloud Development > SuiteApp Marketplace. Next in the Search SuiteApp box enter Bank Feeds and click on the Bank Feeds SuiteApp.
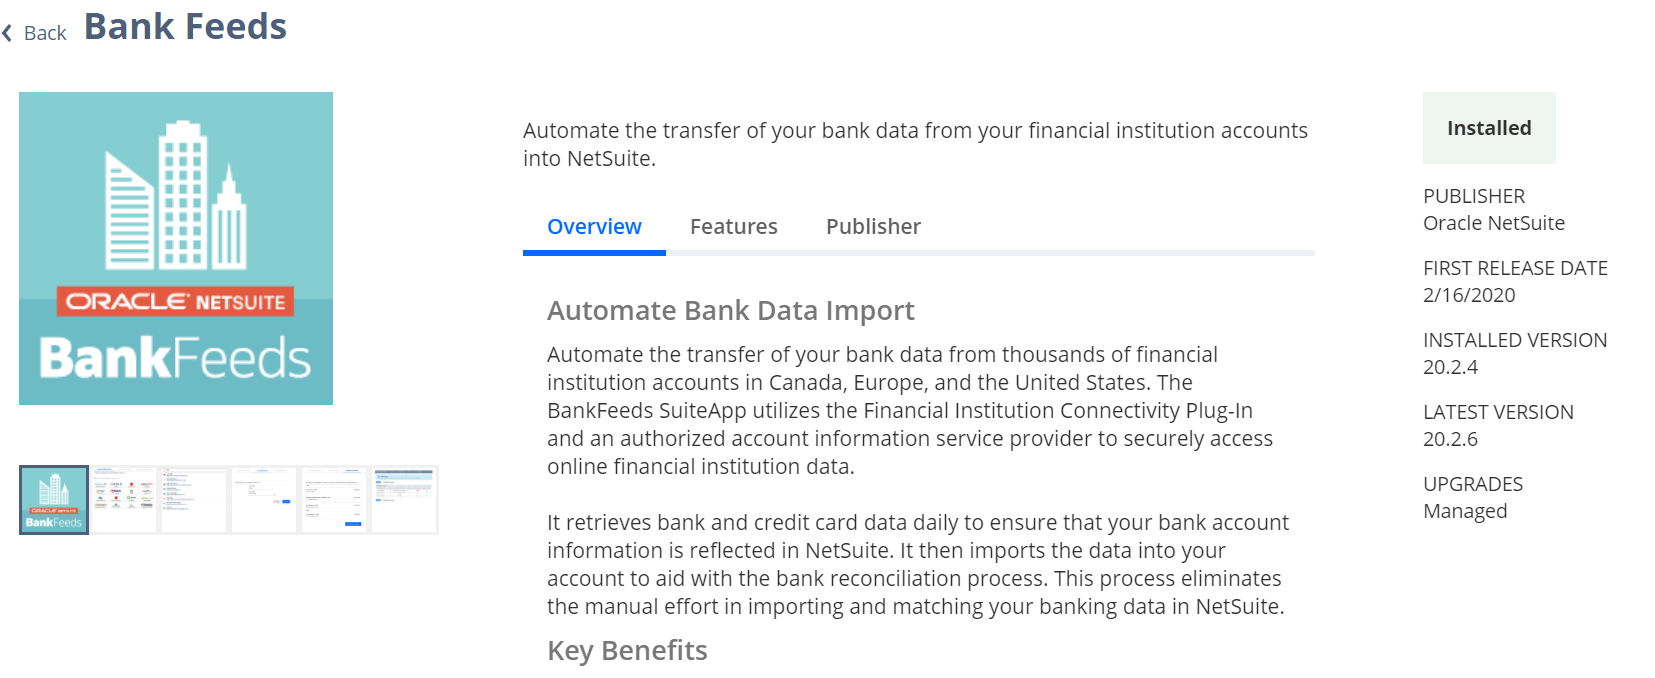
From here on the top right corner click ‘Install’. Once loading is complete and it is Installed navigate to Customization > SuiteCloud Development > Installed SuiteApp list. On this page click refresh until the install status says complete.

Step 2: Connect Financial Institution for U.S. and Canada
This step allows the NetSuite user to connect their NetSuite account to their financial institution. Bank feeds SuiteApp supports different account types that depend on the operating country of the user’s financial institution.
Account types that Bank Feeds SuiteApp supports:
| U.S. and Canada | PSD2 Compliant Countries Within Europe |
| Checking | Payment Accounts (Credit Card, Debit card, Ewallet) |
| Savings | Bank Deposit Accounts (Savings and Checkings) |
| Credit Card |
After the Bank Feeds SuiteApp is installed navigate to Setup > Accounting > Financial Institution > List. On the financial Institution Page, Click View Next to Bank feeds in the List.

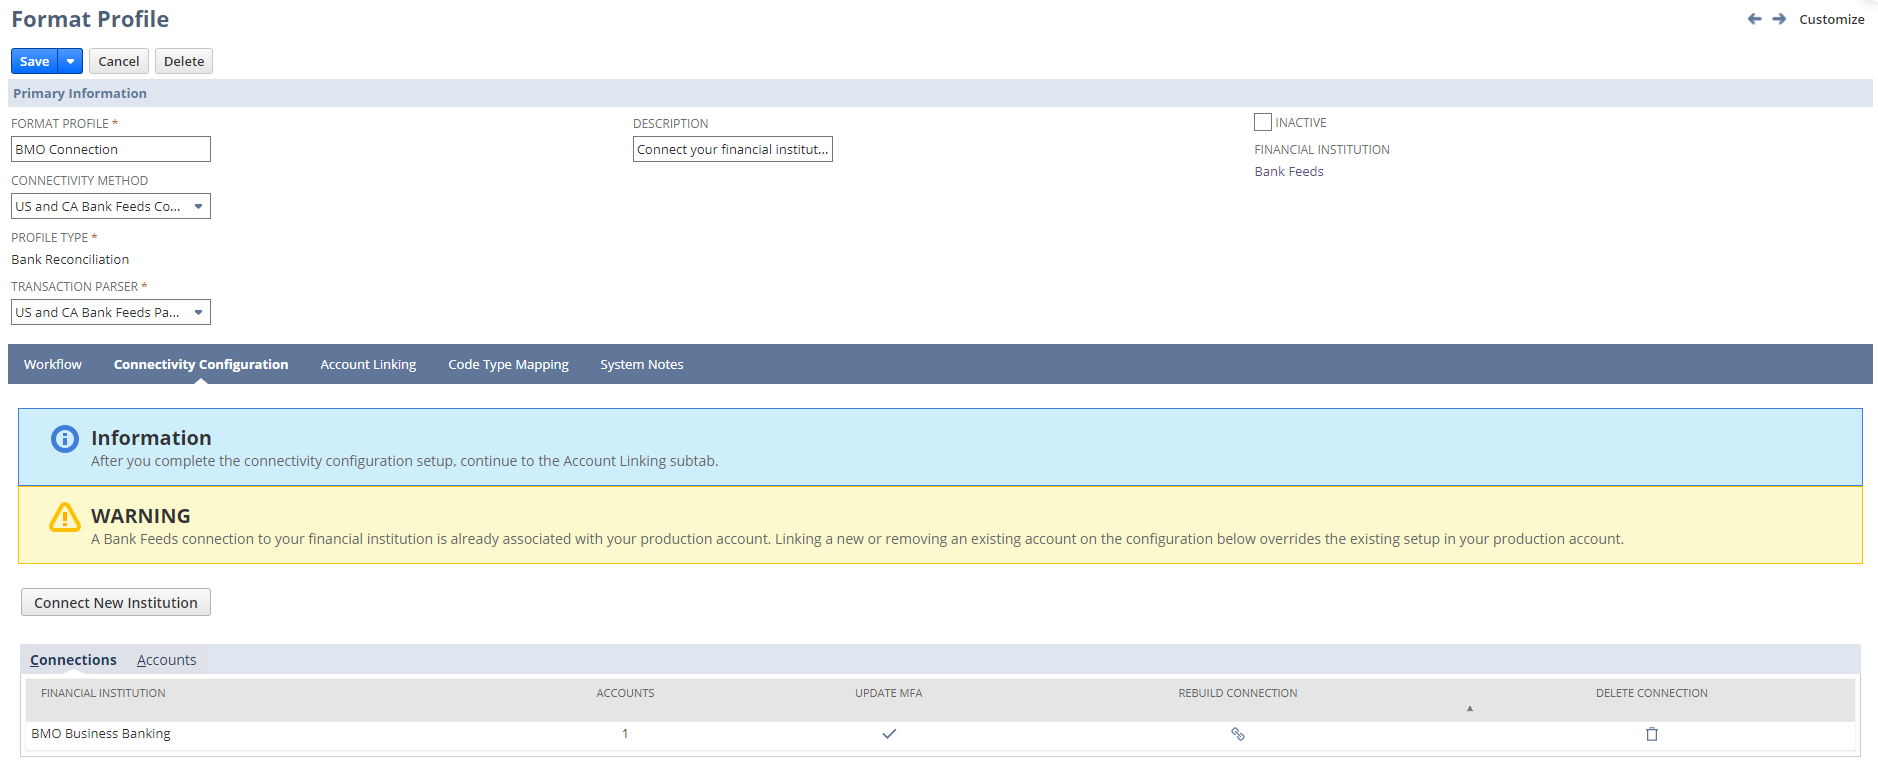
Next on the Financial Institution page navigate to the ‘Format Profile: Configuration’ Subtab and Click ‘Edit’ next to ‘Connect to U.S. and Canada Accounts’.

In the Format profile Page under the Connectivity Configuration subtab Click ‘Connect New Institution’.
Important note: The user’s internet browser must allow popups and ensure the pop-up blocker is off before clicking ‘Connect New Institution’.
A Pop-up menu will appear. Check ‘Accepted and Agreed’ then the Get Started button.
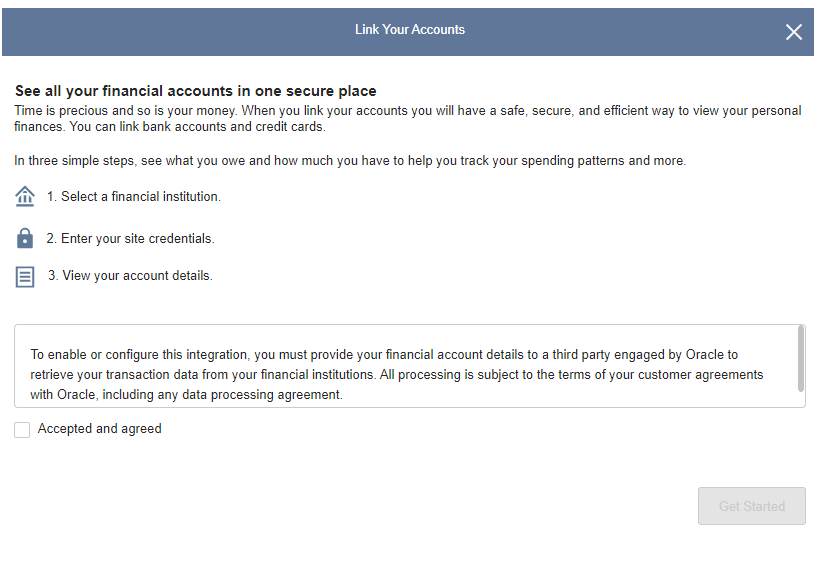
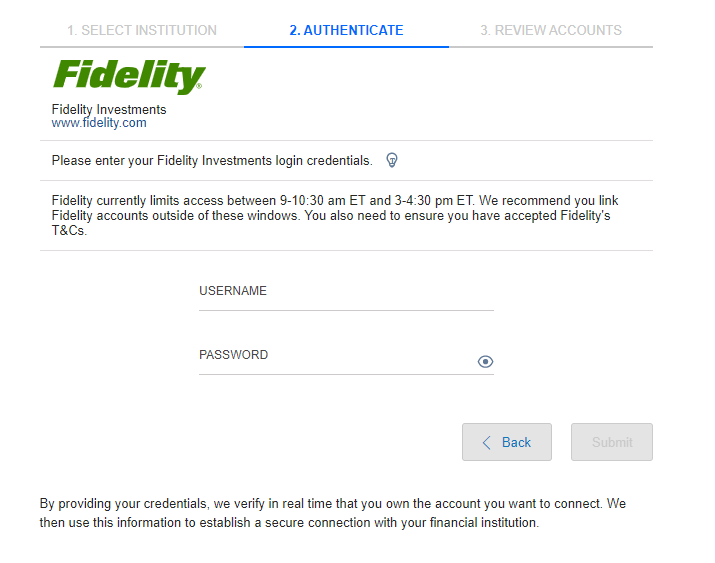
On the next page, the user will be prompted to follow three steps
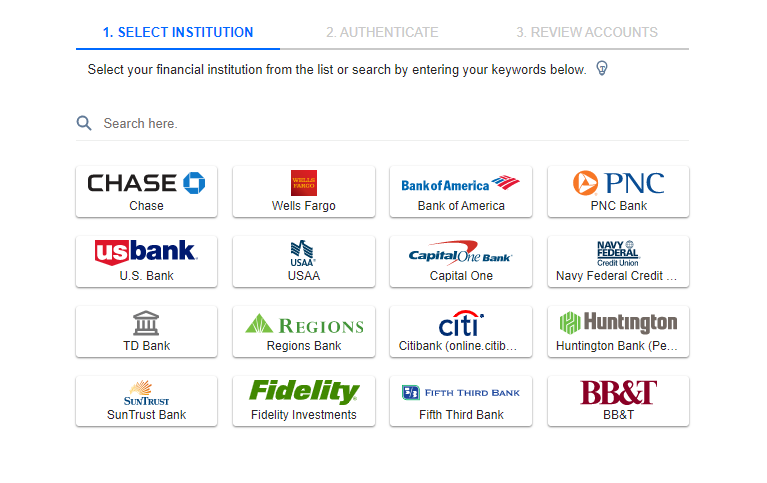
- Select Institution: here the user will search and select the bank
- Authenticate: Enter login Credentials
- Review Accounts and click Save
Once your financial institution is set up you can confirm by looking under the Connectivity Configuration subtab and view your bank’s connection.
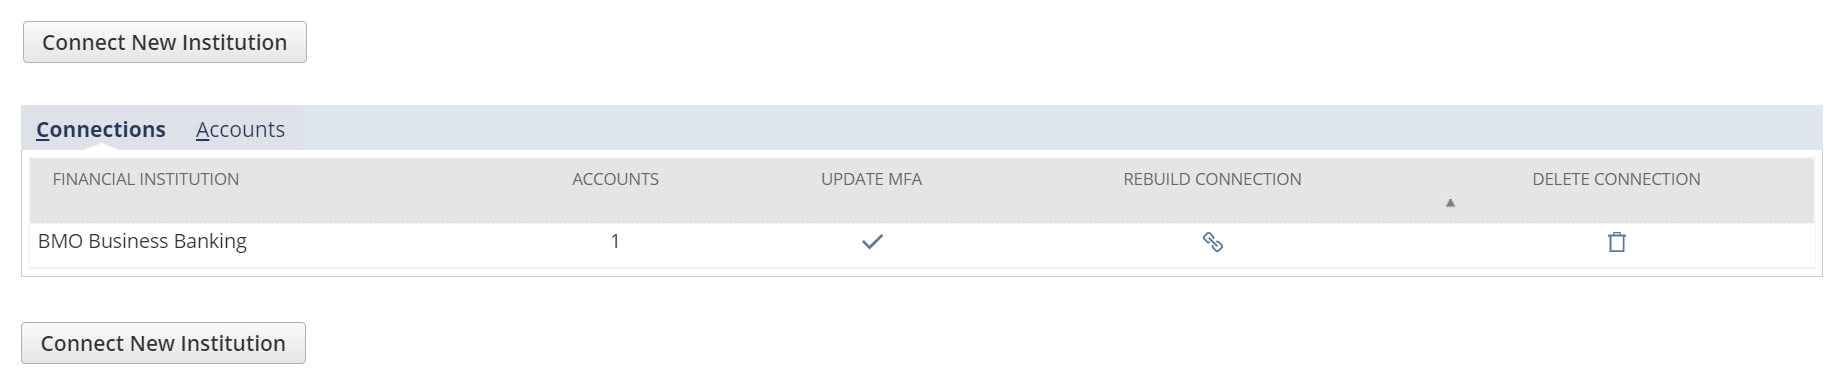
Under the Account Linking Subtab, you can also view the bank account that is now linked with your Financial Institution in NetSuite.

Overview
After a successful connection is established with the NetSuite user’s financial institution, all bank and credit card accounts associated with their bank are automatically connected to their NetSuite account.
Contact us for more information on this topic or others related to: