
 RSMUS.com
Need a quick and easy way to figure what permissions you need in NetSuite to access specific functionality? Try using this trick to determine exactly what permission you’re looking for in less than a minute, without having to dig through SuiteAnswers or endless pages of permissions documentation.
What you’ll need:
- Access to an administrator role or a role that already has access to the page you want
- Access to a role that’s missing that functionality and needs to have it added
Got those? Great, let’s get started! All you need to do is:
- Access the page using the role with permission to that functionality
- Copy the URL from your browser
- Login to the role that is missing the required functionality
- Paste the copied URL into your browser
- Read the error message that pops up. The permission you need is plainly spelled out right there.
That’s it, easy-peasy. As an example, let’s figure out how to learn what permissions we need to access the Inventory Adjustment functionality, but this trick will work equally well with any permission that’s a separate page within NetSuite.
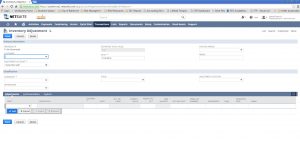
First I’m going to access the Inventory Adjustment page using my administrator role
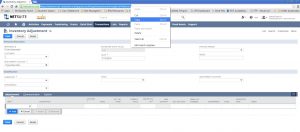
Next, I’ll select and copy the URL from my browser using Ctrl+C, right clicking and selecting copy, or similar functionality.
Now, I’ll login to the role that needs access to the Inventory Adjustment functionality.
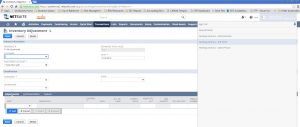
Finally, I’m going to paste the copied URL into my browser at the top.
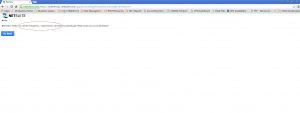
Now, I just hit enter. This will try to redirect me to that same page in my new role, and should result in an error message. The permission you need is plainly spelled out right there (I’ve circled it in the screen shot below).
To add that permission to the role, edit the role, and go to exactly where it says under the permissions tab. In this case we’re going to the Transactions subtab and we’re going to add the “Adjust Inventory” permission as a line item. Don’t forget to select what permission level you want (View, Create, Edit, Full) and to save the role.

That’s it. I hope you find this trick useful. In my view, it certainly beats wading through permission documentation or the guess and check method.
RSM has helped thousands of customers successfully go-live with their software implementation. For questions on implementing this specific functionality or for questions on any other topic related to NetSuite, please contact us at erp@rsmus.com or by phone at 855.437.7202 .
By: James Morris – Virginia NetSuite Solution Provider
RSM Staff
RSM empowers middle market companies worldwide to take charge of change. Our unique middle market perspective makes RSM the natural choice for growth-oriented, internationally active organizations seeking relevant insights and tailored, innovative solutions for a complex and changing world. With a global reach spanning more than 120 countries, we instill confidence in a world of change by bringing the full power of RSM to make a lasting impact on our clients, colleagues and communities.