Here is a quick walkthrough of how to configure the Real Time Web Service 6.1 in R2. This document assumes that the Transaction Service and Retail Store connect have already been installed and configured. This also assumes that the Real-Time Service and AOS are running on separate servers. These examples are taken from the RSM MCR R2 test environment.
Configure the Real Time Service Profile in DAX
Navigate to Retail > Setup > Retail Scheduler > Channel Integration > Real-time service profiles

Server: Name or IP of the machine where the RTS resides.
Port: You can change this to any port number, but by default this value is 808.
Protocol: You can test using http protocol, but it is best to leave this as net.tcp
Web Application Name: This should be “CommerceDataExchangeRealTimeService” NOT “CommerceDataExchangeRealTimeServiceWebsite.” The first value is correct in most cases.
Common Name: This is taken from the IIS Manager. Open the IIS manager on the desktop and navigate to Server Certificates after selecting the server from the menu on the left side of the screen.
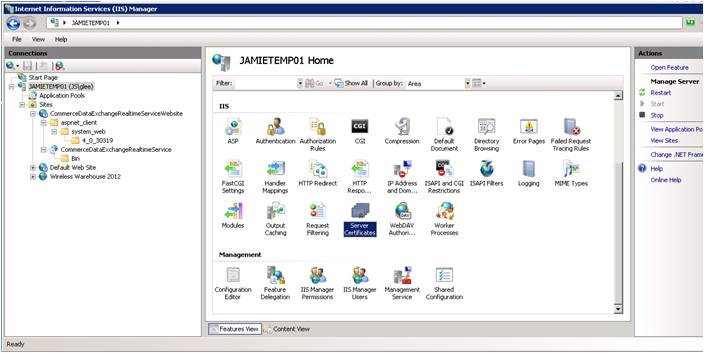
Double click the certificate if one exists. If you do not have a SSL certificate already set up, then you will have to create a self-signed certificate for testing purposes. For a real implementation, a SSL certificate should already exist because the purchase of the software includes a SSL certificate from a trusted authority.

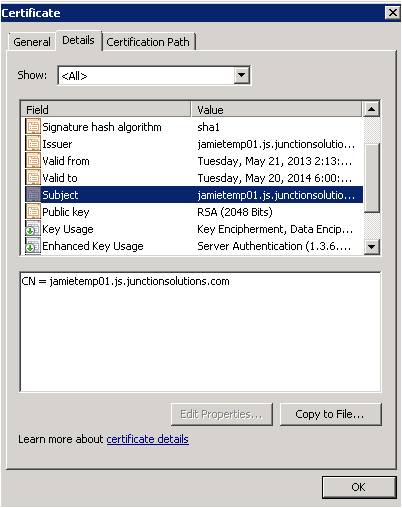
Under the details tab, highlight the subject field. Note the CN= field at the bottom. This is the common name that is required to be in the field for the RTS profile in DAX.
Passphrase: This cannot be left blank. Inputting a value that makes sense is important here, but you only have to input this value once and nowhere else in the application.
Language: Set the language to use on the POS. Here we are choosing United States English.
Real-Time Service version: You can toggle back and forth between the web services (R2) and the Windows service (AX 2012 Feature Pack). Here we are going to select the AX 2012 R2 service.
Once all fields are populated, save and close the form.
Set the RTS profile on a terminal and run replication in DAX
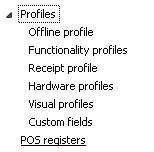
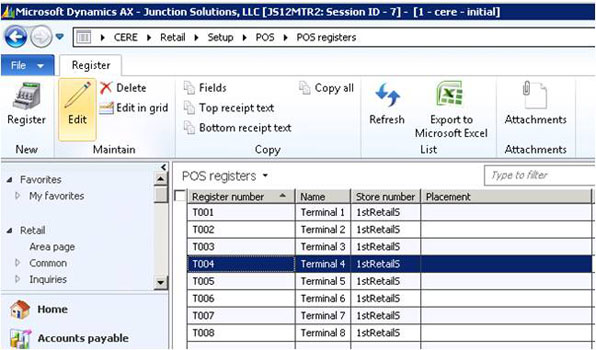
Navigate to Retail > POS > POS Registers. Select the register to which you are connecting (in our case, terminal 4) and select Edit.
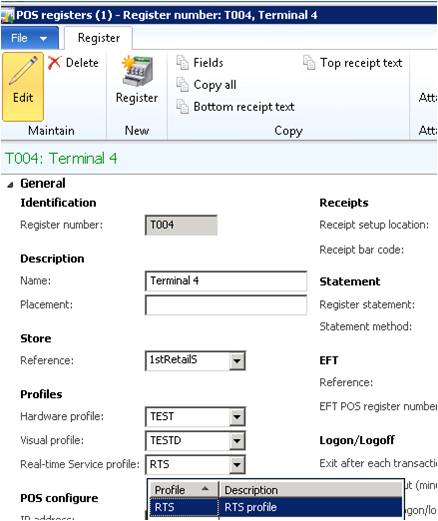
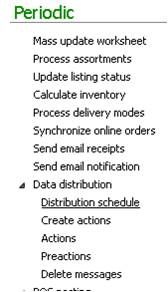
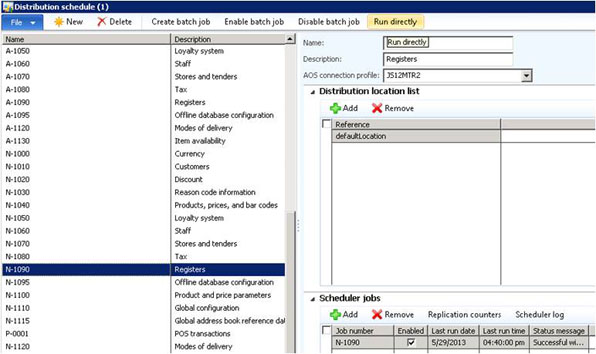
Once the RTS profile has been assigned to a terminal, navigate to Retail > Periodic > Data Distribution > Distribution schedule.
Select the job N-1090 and choose to Run Directly. This assumes that the distribution locations are setup correctly to push the changes to the correct Retail Store.
Verify the Connection Settings in the Web Configuration File (RetailTransactionService.exe)
Once replication has completed, navigate to C:Program Files (x86)Microsoft Dynamics AX60Commerce Data ExchangeReal-time Services6.1Bin on your local machine where the transaction service resides.
Find the RetailTransactionService.exe file and choose to open with Notepad or another program that can easily allow you to make and save changes to the code.

There are two key fields here that need to be identified and populated:
<add key = “Port” value = “808” /> – This port number needs to match the port number that was set up in the RTS profile in DAX. Usually this is set to 1239 by default in the configuration file; you must change it to 808 if that is what is in the RTS profile. Here it is 808.

<add key=”ObjectServer” value=”JS12MTR2@JS12MTR2:2726”/> – This field needs to be populated with the Machine Name where the AOS resides and the name of the AOS server. The port number at the end (here it is 2726) is also important. These values can be taken from the AOS profile in DAX if this was configured correctly:

Use these values to populate the Object server key in the configuration file.
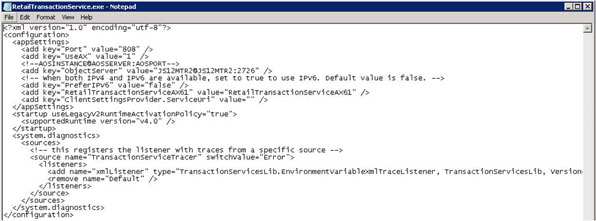
Once the changes have been made to the file, save the changes to the folder and close it.
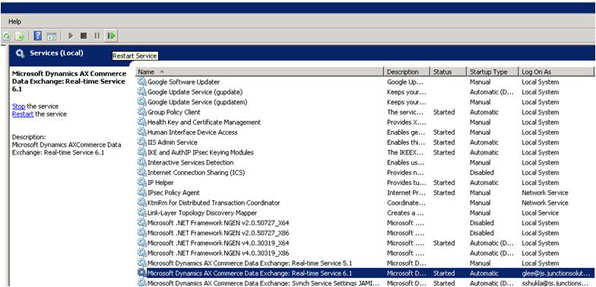
Configure and Restart the Real Time 6.1 Service
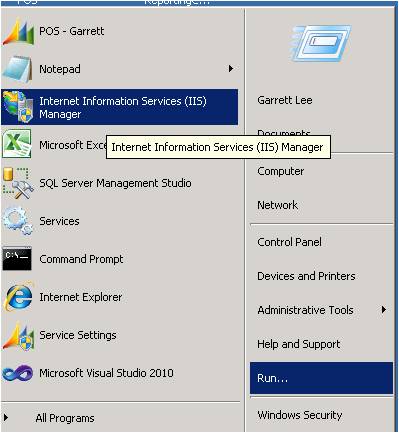
Navigate to Services from the Start Menu on the desktop:
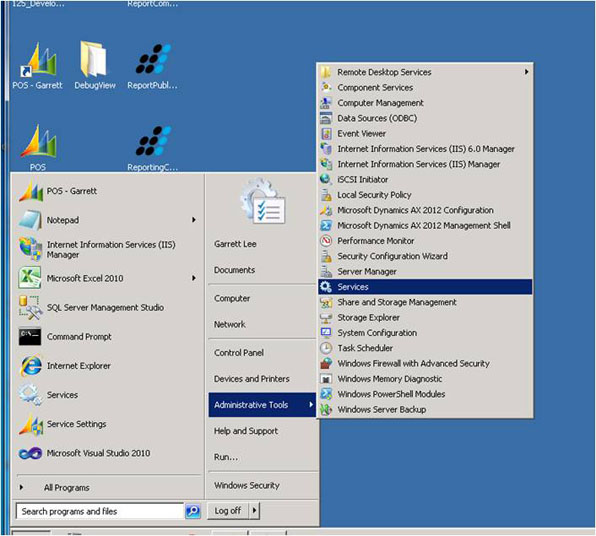
Find the Real Time 6.1 Service. Right click the service and select Properties.
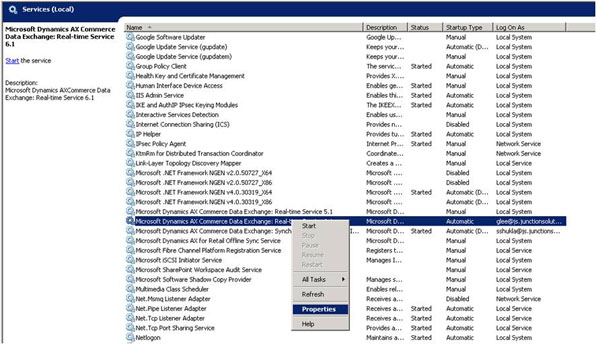
Change the startup type to Automatic:
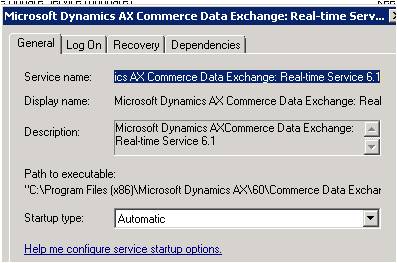
If a universal RTS user has not been set up in SQL Server Mgmt. Studio, then you should be able to switch the “log on” account on the service to use your login and password. By default, this is set to use the Local System Account.
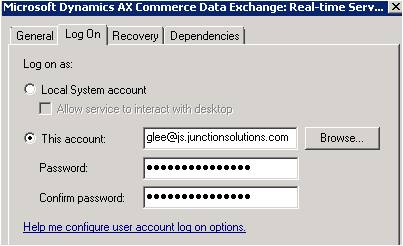
Then restart the service:
Configure Settings in IIS Manager
Navigate to the IIS Manager on your local machine where the Real Time service resides:
Select the server you are working on and then select Server Certificates:
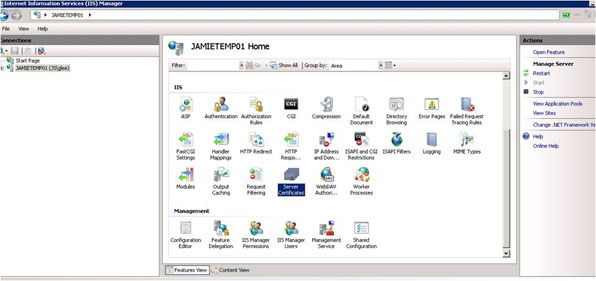
Ensure that a server certificate has been included here:

If a SSL certificate has not been created at this point from a trusted authority (usually one is here if the software was purchased legitimately), then you will need to create a self-signed certificate for testing purposes.
A tutorial about creating self-signed certificates can be found at the following link:
http://weblogs.asp.net/scottgu/archive/2007/04/06/tip-trick-enabling-ssl-on-iis7-using-self-signed-certificates.aspx
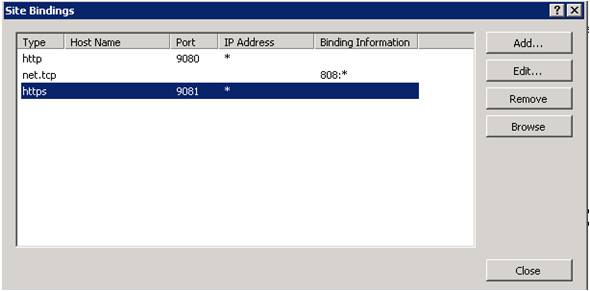
Once the certificate is in place, select the CommerceDataExchangeRealTimeServiceWebsite from the drop down menu under Sites. Next, select “Bindings” from the Edit site menu on the right hand side:

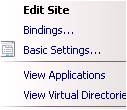
Ensure that a net.tcp protocol exists here using the same port that was specified earlier in the web configuration file and RTS profile. If a protocol does not exist, then you will need to add one using the Add button on the right side. There is already one built, so we can skip to the next step.

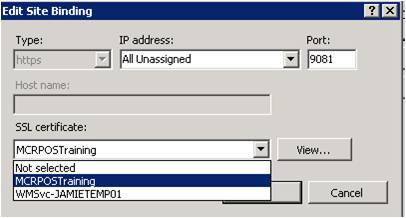
Select Edit for the https protocol if there is one:
![]()
Make sure to select the certificate you are using and bind it to the https protocol. Click OK when you are finished.
Next, navigate to Application Pools under the connections menu:
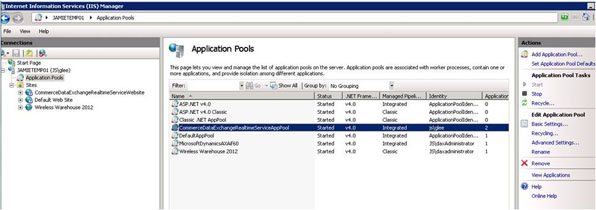
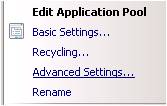
Select the CommerceDataExchangeRealtimeServiceAppPool , followed by selecting Advanced Settings under the Edit Application Pool menu on the right side:
Under the Process Model Field group, select the Identity Field. This must be populated by a user account with appropriate administrative permissions to run the service.
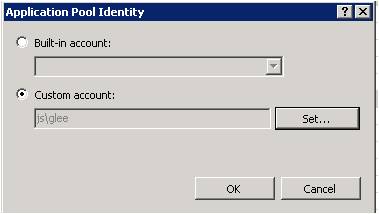
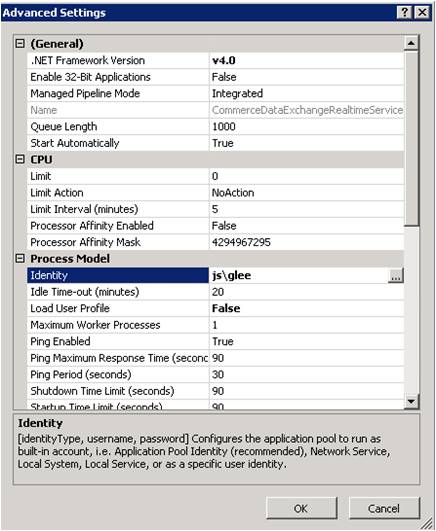
Once this is configured, select the CDE website under the Sites folder on the left. Then restart the web service:


Restart the Point of Sale Application and Test the Connection
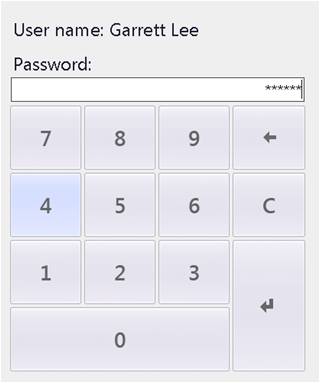
Once these settings have been configured, open the POS application (assuming this is installed and configured as well) and log in.
An easy way to test the connection is to perform an inventory lookup:


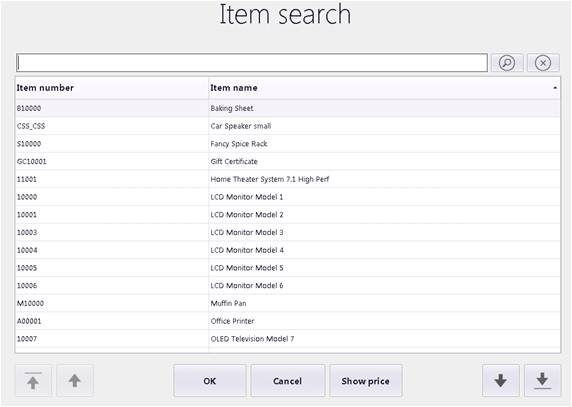

If the Inventory Screen appears with a count of On-Hand, then we know the connection has succeeded:

If the connection was not successful, you will receive this error:

If you are still receiving this error, there are a few things you can review and double check:
- Make sure the App Pool and Website are running under the same user account.
- Ensure that any connection information in the web configuration file uses the same account under which the website and App Pool are running.
- Check to see if the user running the service is also set up as a user in DAX and the Active Directory with appropriate administrative permissions.
- It may be necessary to disable the firewall on the AOS for the connection to work. Our test scenario worked fine with the firewall still enabled on the AOS, but for some, disabling this firewall could make a difference.
- Be sure to restart the Point of Sale after you run replication in DAX.

 RSMUS.com