This post is about using the AX 2012 for Retail Application Settings. This is a dll that exists within the AX 2012 for Retail application folder, and can be used to retrieve important and useful in-memory information such as the POS operator Id, Terminal ID, Store ID, Data Area ID, Store ID, among others.
If we think about it, by using this dynamic library, we can minimize numerous trips to the database and so improve performance at run time. On this thought, this post will focus on a sample project that will retrieve some POS information through a Windows form that will be opened when the PostLogon() event is fired. This means when the Windows form opens, we’ll know who is logged in, and the terminal and store they are logged in to.
Let’s start by setting up our project. Please note I made a copy of my POS application folder to play around, as our exercise will overwrite the Application Triggers dll and it will create a new dll that for our new form project.
If you haven’t read my post on AX 2012 POS development – Application triggers I would recommend to read it before moving forward.
1-Create a new project, select Class Library and name it Application Triggers.
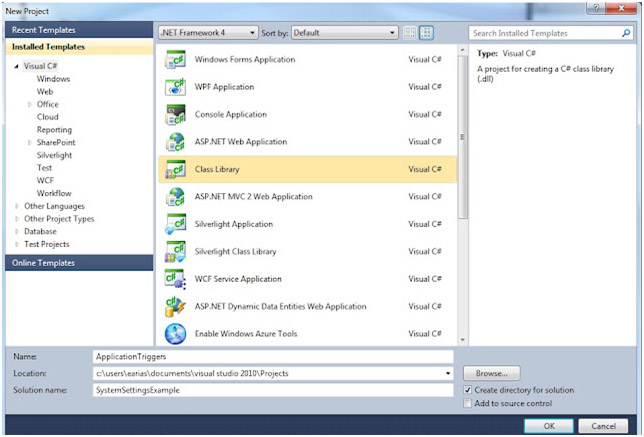
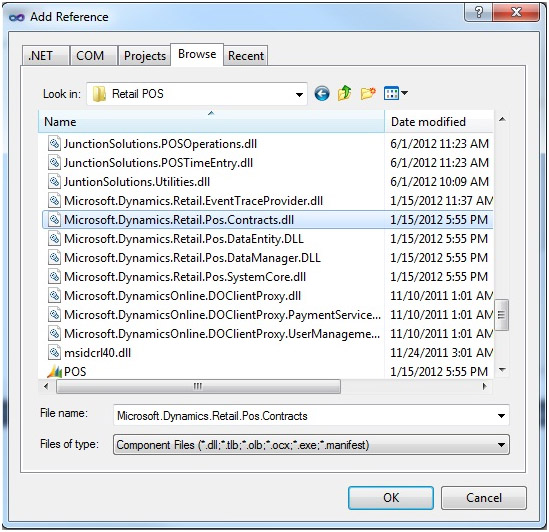
2-Add the Microsoft.Dynamics.Retail.POS.Contract.dll reference to the above project.
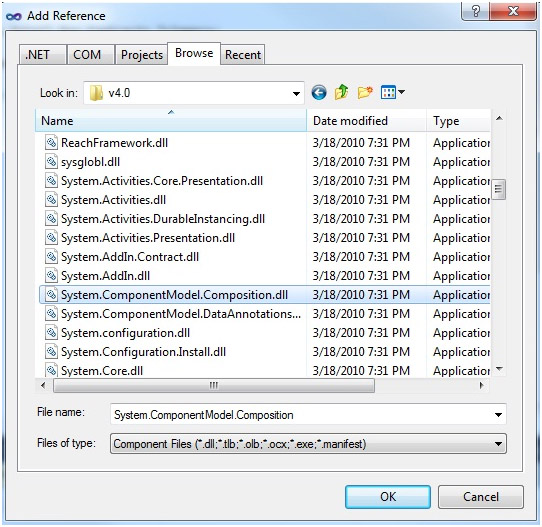
3-Add the System.ComponentModel.Composition.dll to the above project.
4-Open your code file and implement the IApplicationtrigger interface as shown below.
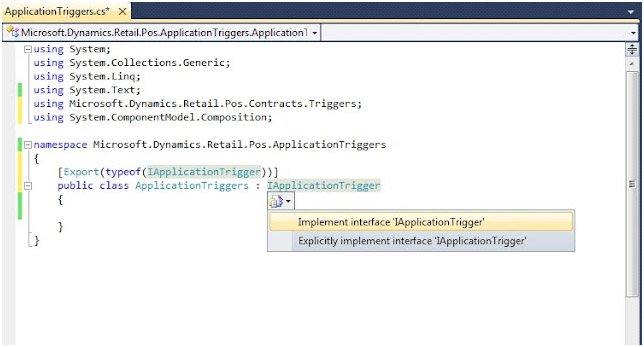
5-Make sure it looks like the following picture, then delete the throw statements to avoid firing an exception at run time.
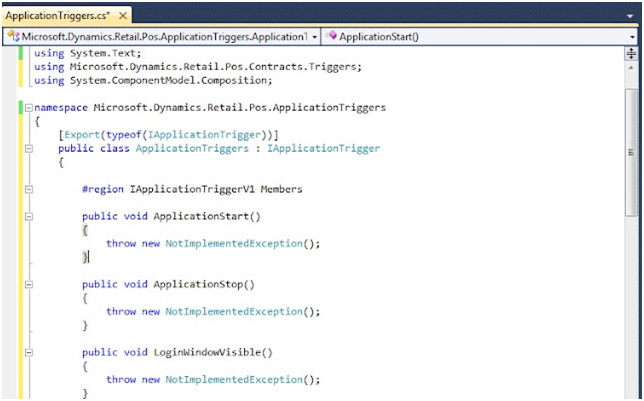
6-On top of the ApplicationStart() Method add the following:
7-Add a new project to the solution, select Class Library, and give it a name (i.e. AppSettingFormExample) . Then in your new project add a new form and a new class. In the form add 4 buttons that will have the following captions:
- Show Current User
- Show Current Store
- Show Current Terminal
- Show Current Connection
NOTE: You can see a sample of this form below.
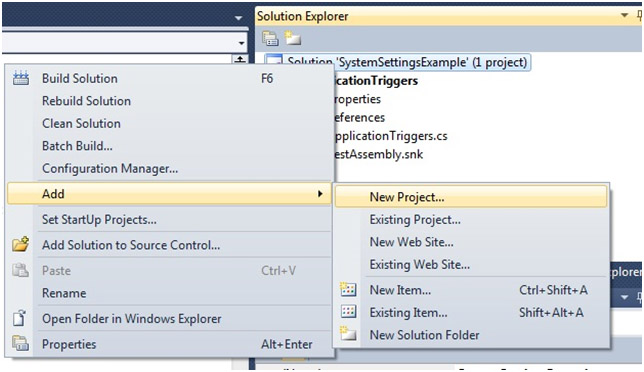
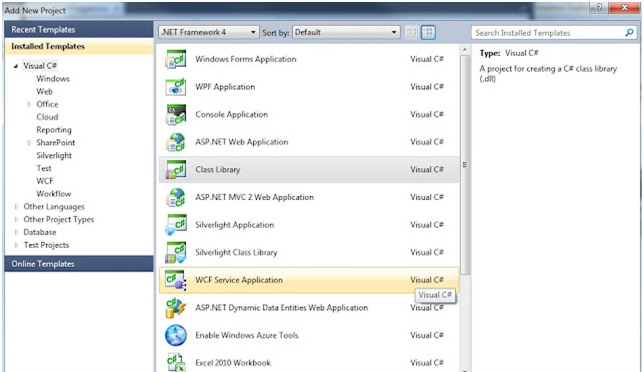
8-Build the solution so our AppSettingFormExample dll is created in the AX 2012 POS folder.
9-In order to launch the form we created above from the ApplicationTriggers PostLogon()method, we need to add our Form project as a reference to the ApplicationTriggers Project. When you are done, then add the namespace to your code as shown below:

10-Build the solution.
11-In your ApplicationTriggers Project, reference the System.Settings.Dll.
12-Add the namespace to your code (LSRetailPosis.Settings).
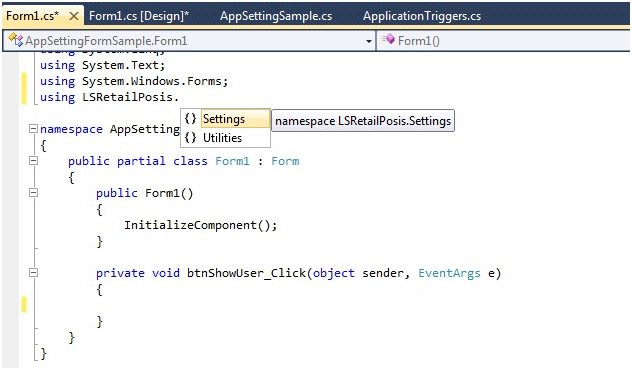
13-Add the following code to the class you created along with the form. Here we are using theApplicationSettings dll to retrieve the information each button says it will retrieve. If you note, this is a really good and simplified design. Each of these calls does not fire up a trip to the Database and it just takes the data from memory, which makes the AX 2012 POS application really responsive.
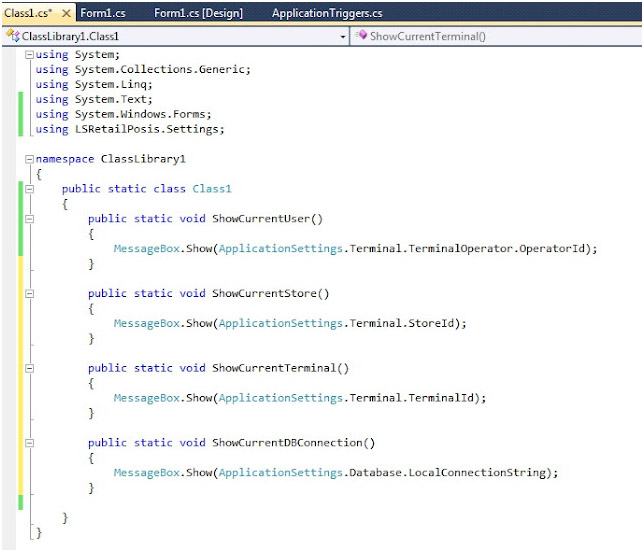
14-In order to call our class and retrieve the information we need, we have to write some events for each button.
I like to write one event handler for all the buttons in my form and then use a switch statement to identify which is which, and then route their operations. For me this works better as I just create one method instead of 4 for each button. Neither is better than the other, unless you think the same way I do : – )
So, write the following code in tour designer:
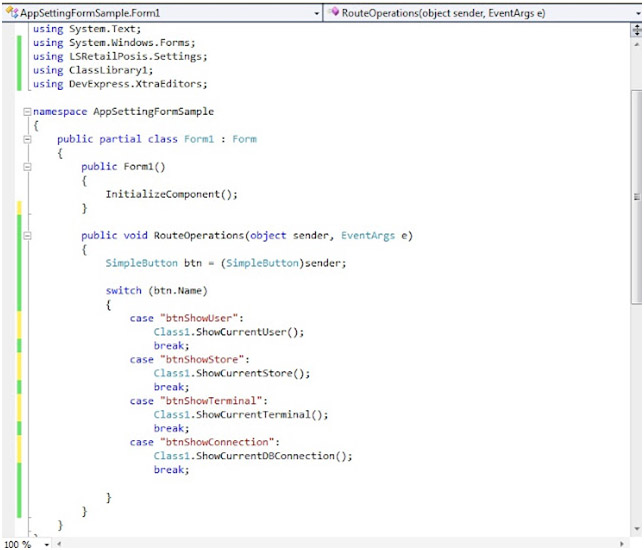
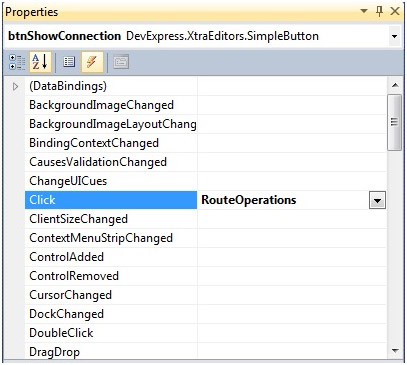
Now we need to go to each button properties’ Click() method and add the name of our button event handler in order for the event to work.
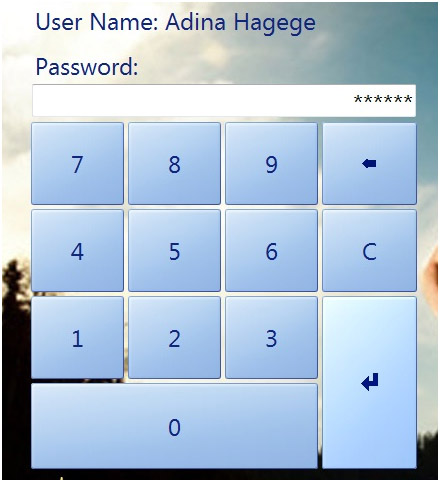
15-Run the solution and the AX 2012 POS application should be opened. Input your credentials.
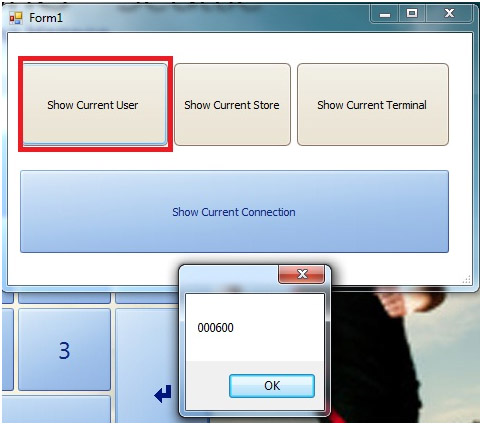
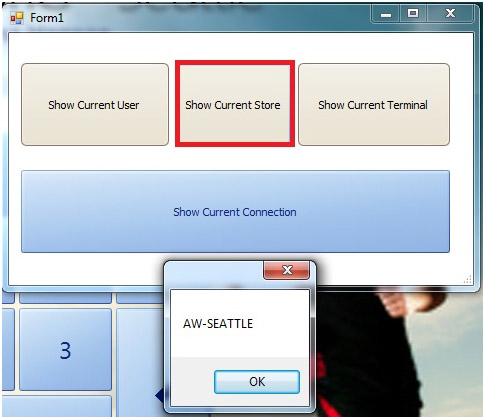
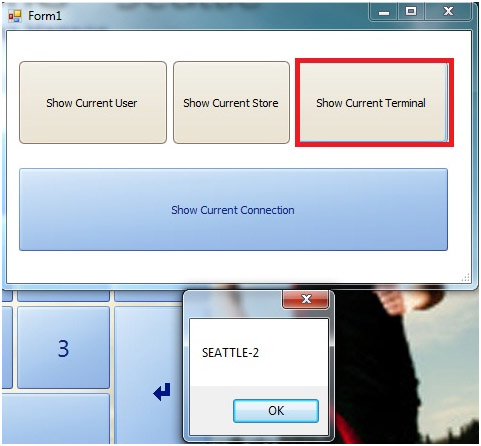
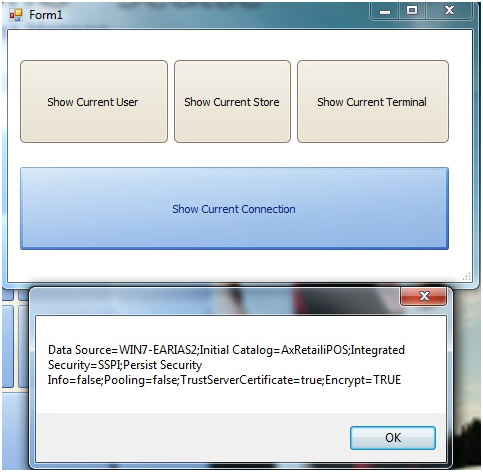
You should see the form you created. Click each button and you should see the following results.
_______________________________________________________________
NOTE: In order to launch the form after the PostLogon() method, you will have to instantiate the Form you created as shown below:
Form1myform = new Form1();
myform.ShowDialog();
_________________________________________________________________________________
There is much more to cover on the AX 2012 POS System Settings, and I certainly encourage you to delve deeper into it as it is really cool and makes writing code easy and scalable.

 RSMUS.com