Wouldn’t it be nice to be able to browse your Dynamics AX data directly from Windows 8?
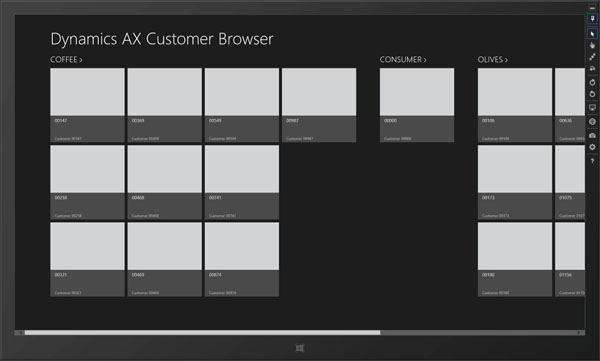
In this short walkthrough, we will show you how you can quickly create a simple Windows 8 app written in HTML5 that will allow you to do just that, and it’s really not that hard…
Get Windows 8 and Visual Studio 2012
There are two pre-requisites for this walkthrough, but luckily these are available for free as RTM versions. So if you don’t already have a licensed copy of Windows 8 and Visual Studio 2012, then download them from here:
Windows 8 RTM : Click here for more information.
Visual Studio 2012 Express RTM for Windows 8: Click here for more information.
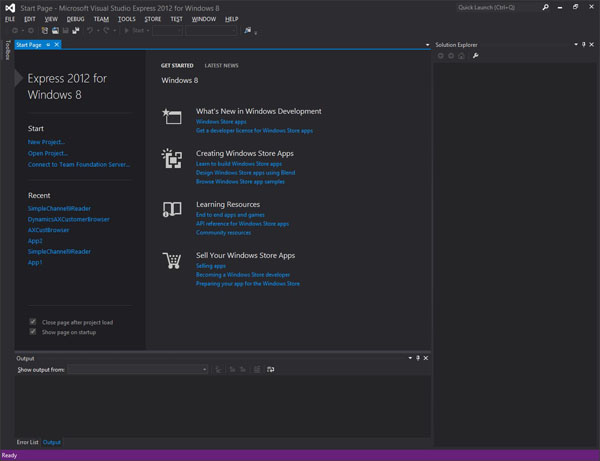
Create a Windows 8 Grid App
For this example, there is no need to create an application completely from scratch. We will use the Windows 8 Grid App template to do most of the work for us.
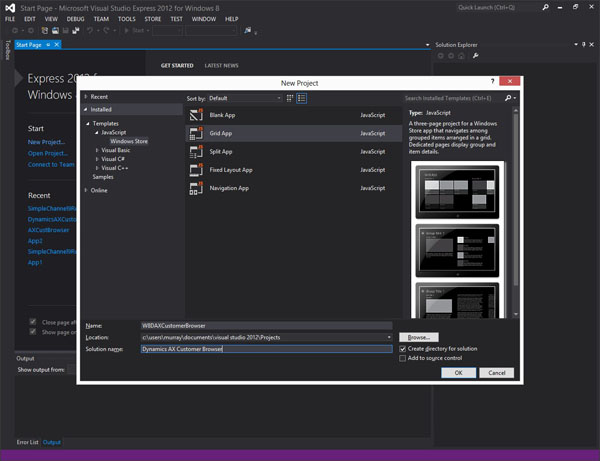
After creating the initial project, we will have all of the internal plumbing that we need in the set of steps.
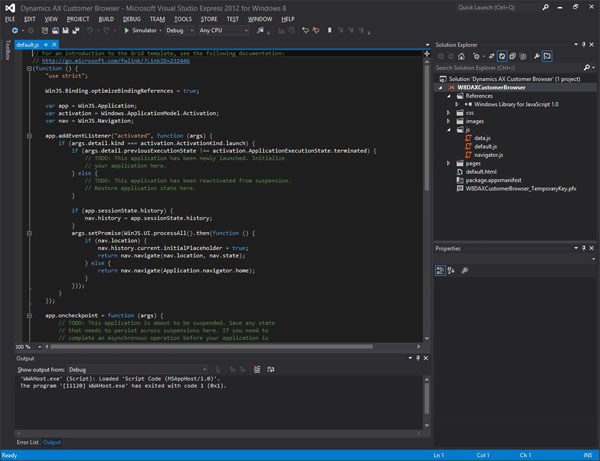
If we run the application in the simulator we can see the general framework in action.
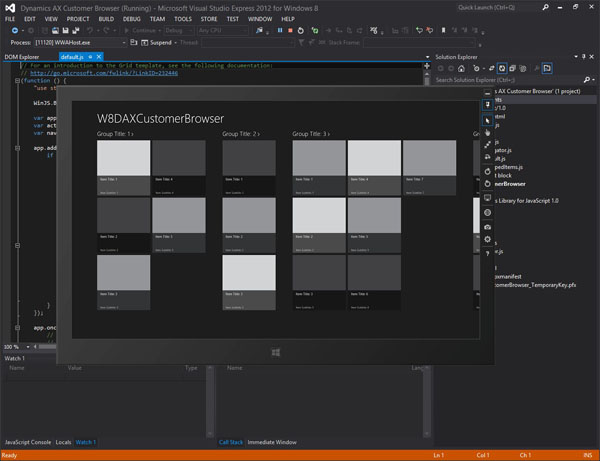
Populate the App with AX Data
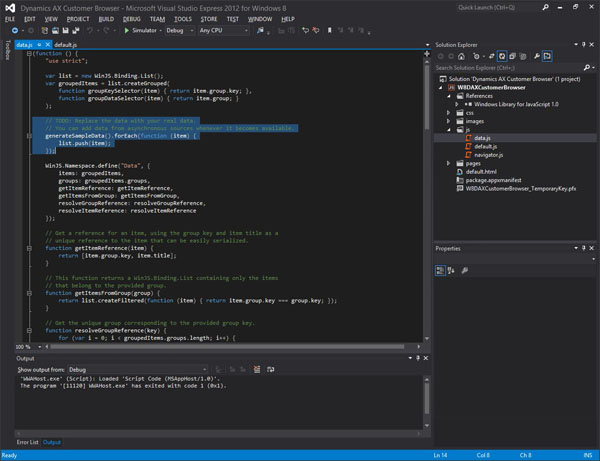
If we look in the /js folder in the project that we just created, there is a snippet of code that populates the application with sample data. Rather than use the pre-canned data, we want
to have AX data in the application.
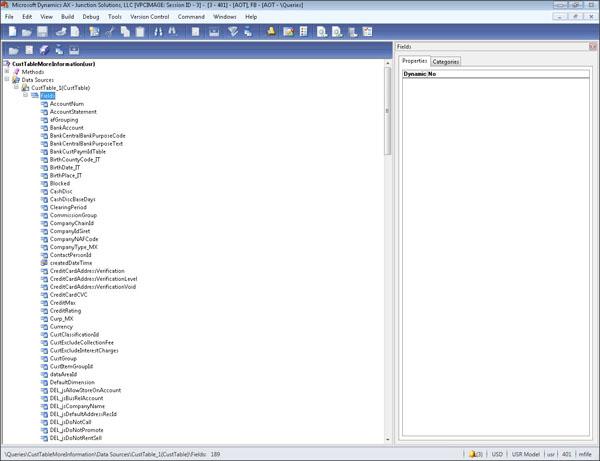
The easiest way to publish information is through the Odata Document Services. This feature in AOT allows you to publish any query that you may have created out as a web service.
I want to be able to populate my app with Customer information, and to save time, I am going to use a query that is already in the system.
The next step is to make use that the query is activated in the Document Data Sources (in the Organizational menu).
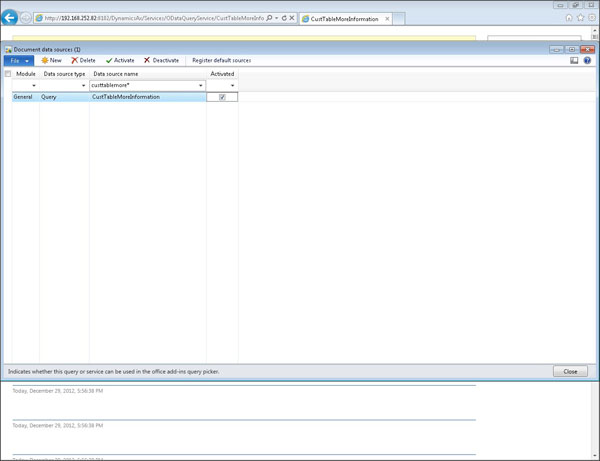
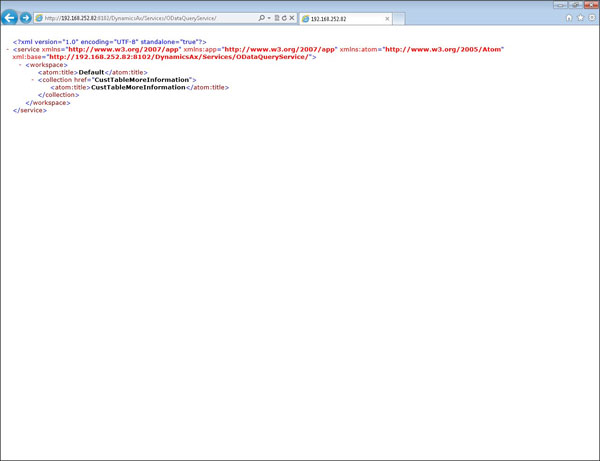
Once you have activated the document source, you can then view all of the published queries by browsing to the ODataQueryService service.
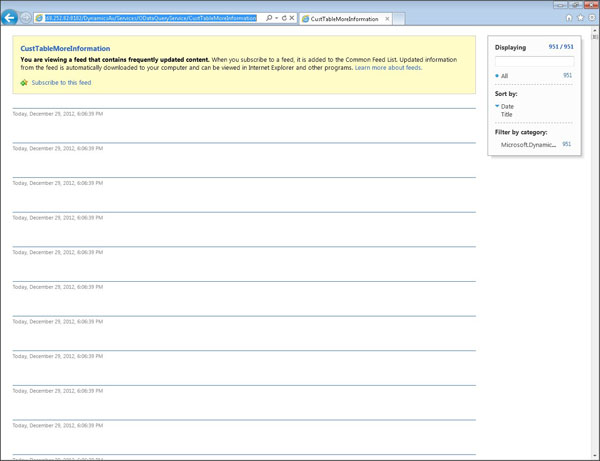
If you add the document service name to the end of the URL, then you will be able to see that the data is being returned as a feed.
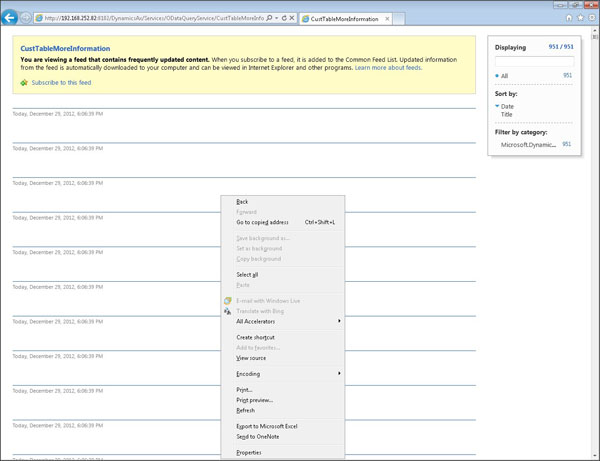
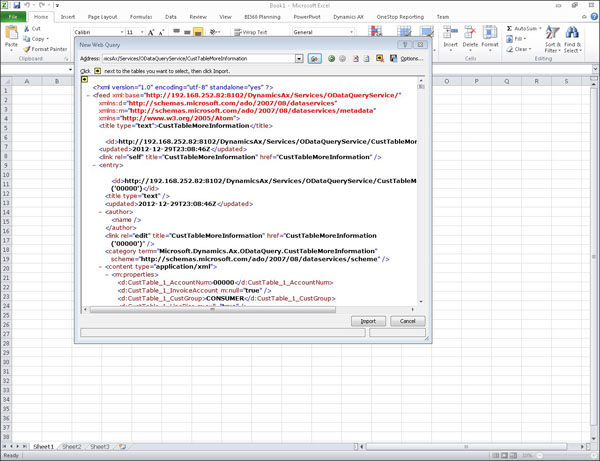
If you view the source data, or export out the service source to Excel then you will be able to see the structure of the data.
Here is the raw XML viewed through Excel.
Now we just need to replace the sample data with AX data. And the first step in order to do this is to read the web service data into the application:
WinJS.xhr({ url: “http://192.168.252.82:8102/DynamicsAx/Services/ODataQueryService/CustTableMoreInformation” }).then(function (rss) { var items = rss.responseXML.querySelectorAll(“properties”); });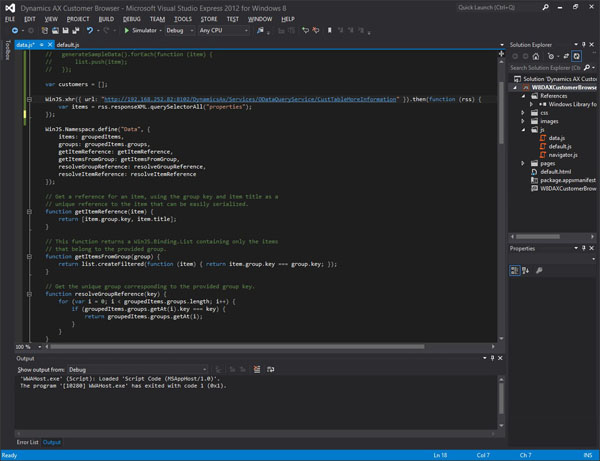
Now that we have the data loaded, we just need to step through the XML file and load the data into a data structure that the application is able to process:
var itemList = new WinJS.Binding.List(); for (var n = 0; n < items.length && n < 25; n++) { var item = {}; var custGroup = items[n].querySelector(“CustTable_1_CustGroup”).textContent; var accountNum = items[n].querySelector(“CustTable_1_AccountNum”).textContent; item.group = { key: custGroup, title: custGroup, subtitle: “”, backgroundImage: lightGray, description: “” }; item.title = accountNum; item.subtitle = “Customer ” + accountNum; item.content = “”; item.backgroundImage = lightGray; itemList.push(item); }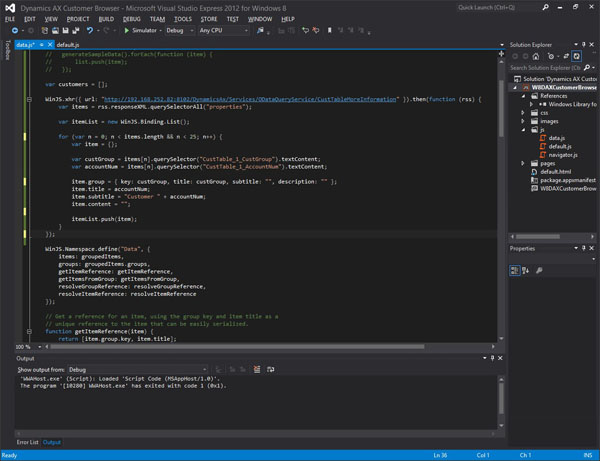
Finally we just need to push the items that we read from AX into the list that will be shown by the application:
itemList.forEach(function (item) { list.push(item); });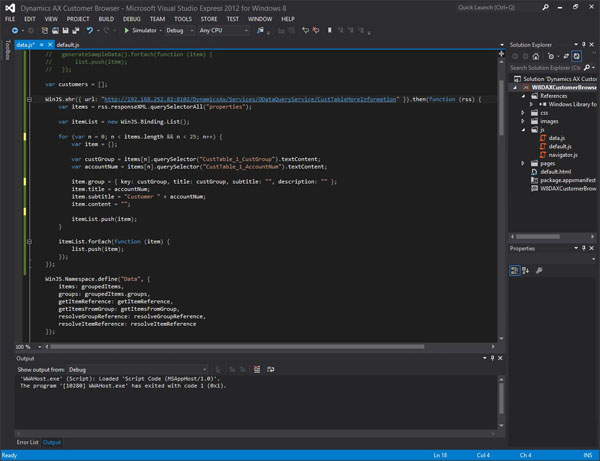
To tidy up the application we just borrowed a little bit of code from the sample data code snippet to give the tiles a consistent background.
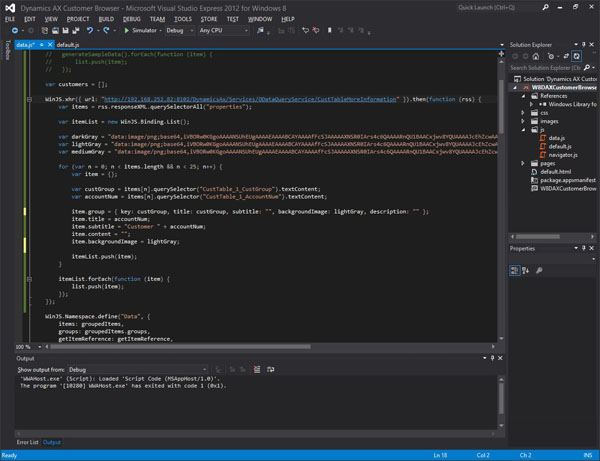
All in all, this is the code that we need to add to the application.
WinJS.xhr({ url: “http://192.168.252.82:8102/DynamicsAx/Services/ODataQueryService/CustTableMoreInformation” }).then(function (rss) { var items = rss.responseXML.querySelectorAll(“properties”); var itemList = new WinJS.Binding.List(); var darkGray = “data:image/png;base64,iVBORw0KGgoAAAANSUhEUgAAAAEAAAABCAYAAAAfFcSJAAAAAXNSR0I Ars4c6QAAAARnQU1BAACxjwv8YQUAAAAJcEhZcwAADsQAAA7EAZUrDhsAAAANSURBVBhXY3B0c PoPAANMAcOba1BlAAAAAElFTkSuQmCC”; var lightGray = “data:image/png;base64,iVBORw0KGgoAAAANSUhEUgAAAAEAAAABCAYAAAAfFcSJAAAAAXNSR0I Ars4c6QAAAARnQU1BAACxjwv8YQUAAAAJcEhZcwAADsQAAA7EAZUrDhsAAAANSURBVBhXY7h4+cp /AAhpA3h+ANDKAAAAAElFTkSuQmCC”; var mediumGray = “data:image/png;base64,iVBORw0KGgoAAAANSUhEUgAAAAEAAAABCAYAAAAfFcSJAAAAAXNSR0I Ars4c6QAAAARnQU1BAACxjwv8YQUAAAAJcEhZcwAADsQAAA7EAZUrDhsAAAANSURBVBhXY5g8dcZ /AAY/AsAlWFQ+AAAAAElFTkSuQmCC”; for (var n = 0; n < items.length && n < 25; n++) { var item = {}; var custGroup = items[n].querySelector(“CustTable_1_CustGroup”).textContent; var accountNum = items[n].querySelector(“CustTable_1_AccountNum”).textContent; item.group = { key: custGroup, title: custGroup, subtitle: “”, backgroundImage: lightGray, description: “” }; item.title = accountNum; item.subtitle = “Customer ” + accountNum; item.content = “”; item.backgroundImage = lightGray; itemList.push(item); } itemList.forEach(function (item) { list.push(item); }); });
Our New Windows 8 Application in Action
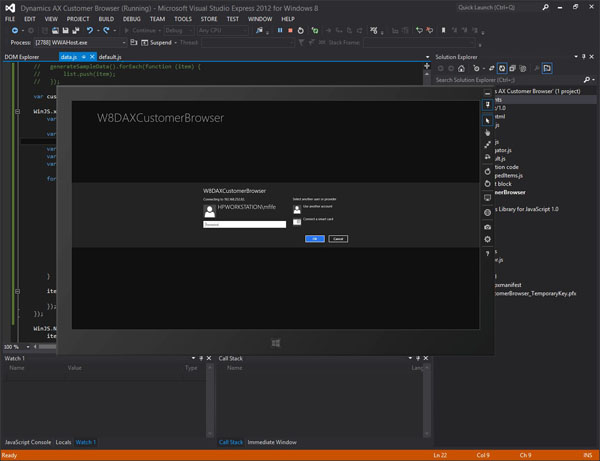
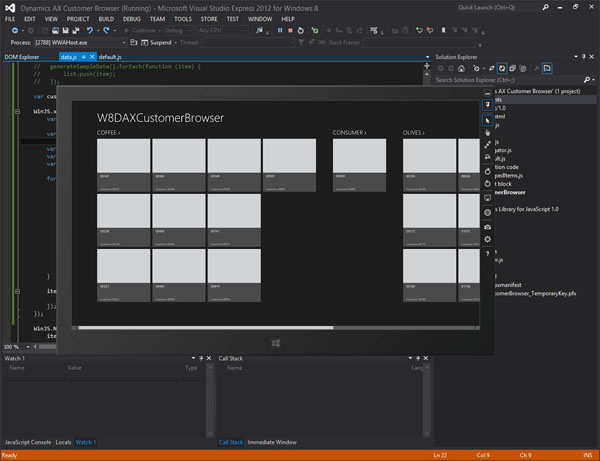
And our new 60 second application is up and running.
With drill downs.
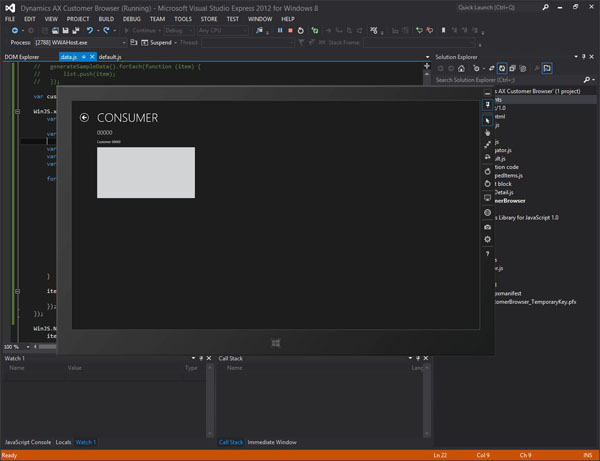
How cool is that.

 RSMUS.com