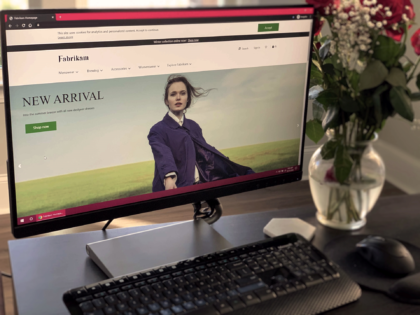
 Dynamics 365 Commerce, one of Microsoft’s newest Dynamics 365 applications, has transformed and expanded its existing retail platform with its innovative omni-channel solution that combines digital, in-store, and back-office interactions into a unified, seamless flow. With business operation optimization, intelligent product insights, and automated sales and order processing, the robust platform allows business owners and employees to create exceptional shopping experiences for their customers.
As a website manager, you can benefit from Dynamics 365 Commerce’s Site Builder, the content management system that empowers you to create and maintain your eCommerce site. Structuring your content and customer flow is important, but as with any e-commerce business, ensuring that your site’s user interface is polished, accessible, and brand-compliant is just as critical in securing consumers for your online store.
Let’s dive into how you can use Dynamics 365 Commerce’s themes to personalize your site and enhance your customer experience.
Theme Overview
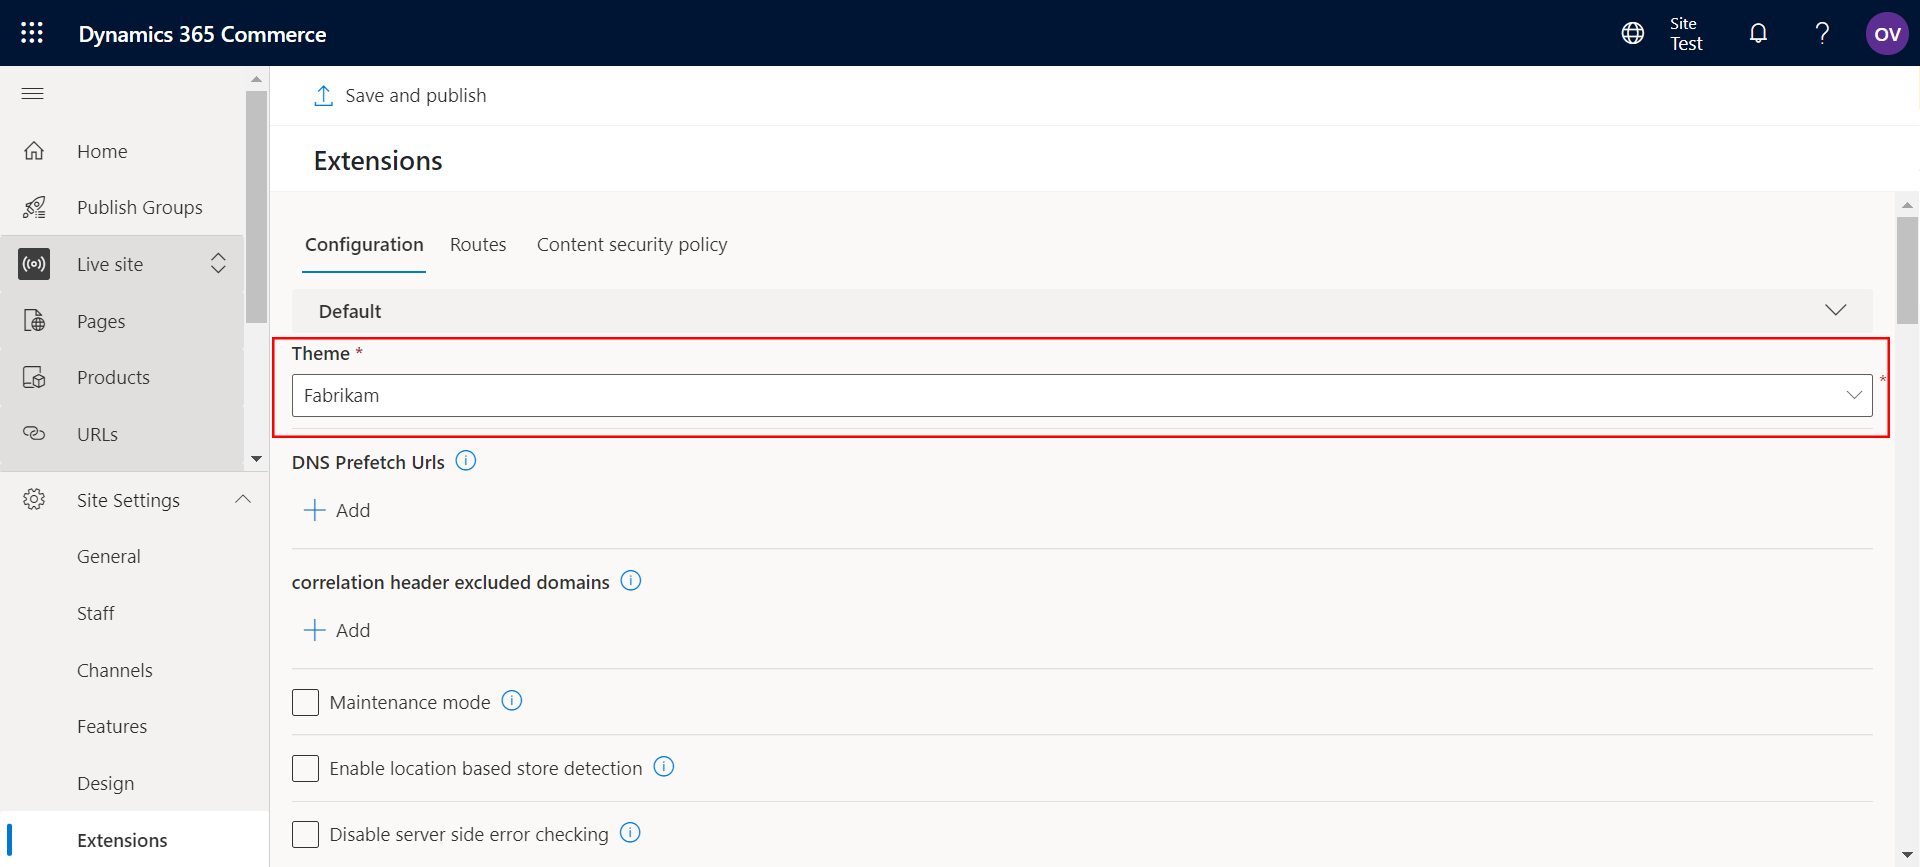
Every site’s aesthetic appearance is determined by its theme, which is created and deployed by a developer. In the theme, the creator can define foundational page and module layouts and style settings, including fonts, colors, and sizes, so that every part of the site can have a consistent look and feel. By default, a created site will be using a starter kit theme, but you can apply a different theme to the entire site, individual templates, or even individual pages in the Site Builder. This is especially useful when you want a default theme for your site but choose to have a different look for a particular campaign. In this case, you can apply the campaign theme to a subset of corresponding pages. Themes can also be shared across multiple sites within the same environment, which can be suitable for multiple online stores under the same umbrella brand.
Theme Creation
If you are a developer with access to the Dynamics 365 Commerce online software development kit (SDK), you can create custom themes using Sassy Cascading Style Sheets (SCSS) to format and style site pages and modules. In the command-line interface (CLI), use the command: yarn msdyn365 add-theme NEW_THEME_NAME. This creates a new theme with the entered theme name in the /src/themes folder. You can find the SCSS entry point file for the theme in the /styles directory. From here on, you can create and import other SCSS files in the theme entry point file by using relative paths.
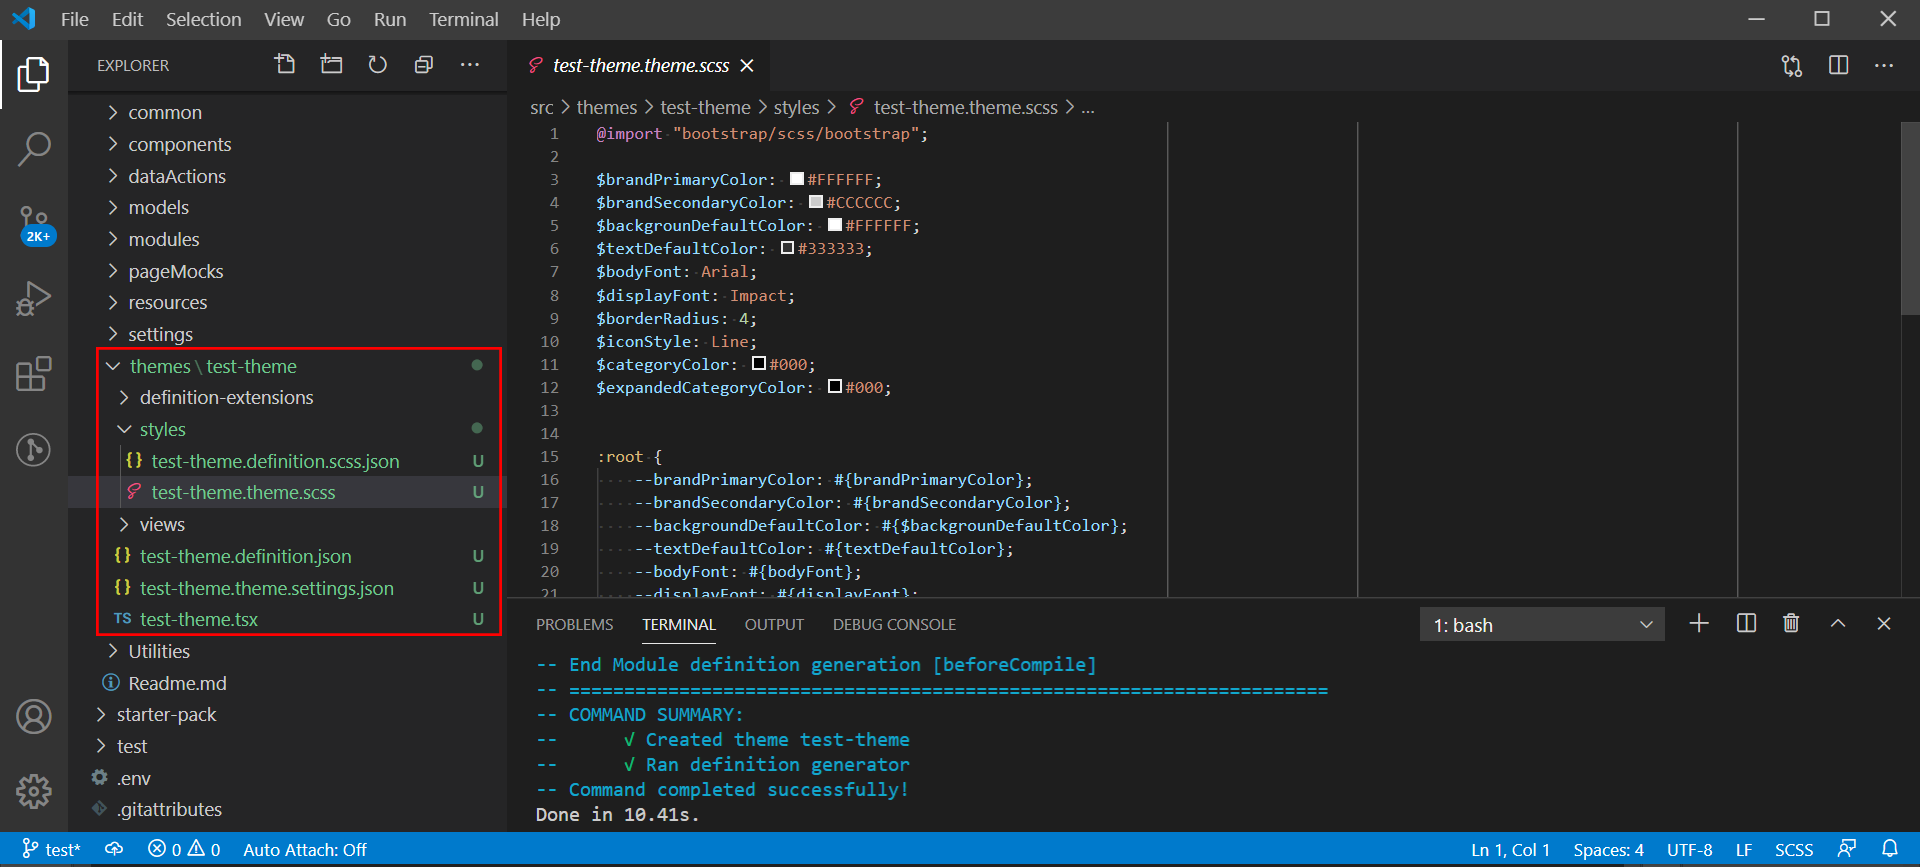
Any theme created using the CLI has Bootstrap 4 imported in the SCSS entry point file, but it is possible to import your own framework and extend those classes with SCSS instead. Once your theme is ready, it can be deployed to your sandbox or production environment through Microsoft Dynamics Lifecycle Services (LCS). You can then configure your site using the Site Builder to select the new theme either on the site, template, layout, or page level.
Style Presets
A style preset is a stored set of all configurable style values in a theme that you can use to change the appearance of a site in Site Builder directly. Style presets allow you to quickly change, preview, and activate a set of style values across your site without having to edit existing or deploy new themes. Some examples of style variables you can easily modify and manage through style presets include site colors, font faces, font styles, and button styles.
Any theme with authorable style presets must have a default style preset, though it can also have additional optional style preset settings known as preset instances. For example, a theme that has the default style preset “midnight blue” may also have optional preset instances like “fiery red” or “honeycomb yellow.”
After you configure style preset settings in Site Builder’s Design tab, modules that make use of the SCSS variables will automatically reflect the style preset that you chose. Keep in mind that if a theme is not making use of these authorable style presets in its SCSS, your configuration changes will not work. The author of the theme must have connected these style presets to pieces of the theme beforehand for the style presets to be useful.
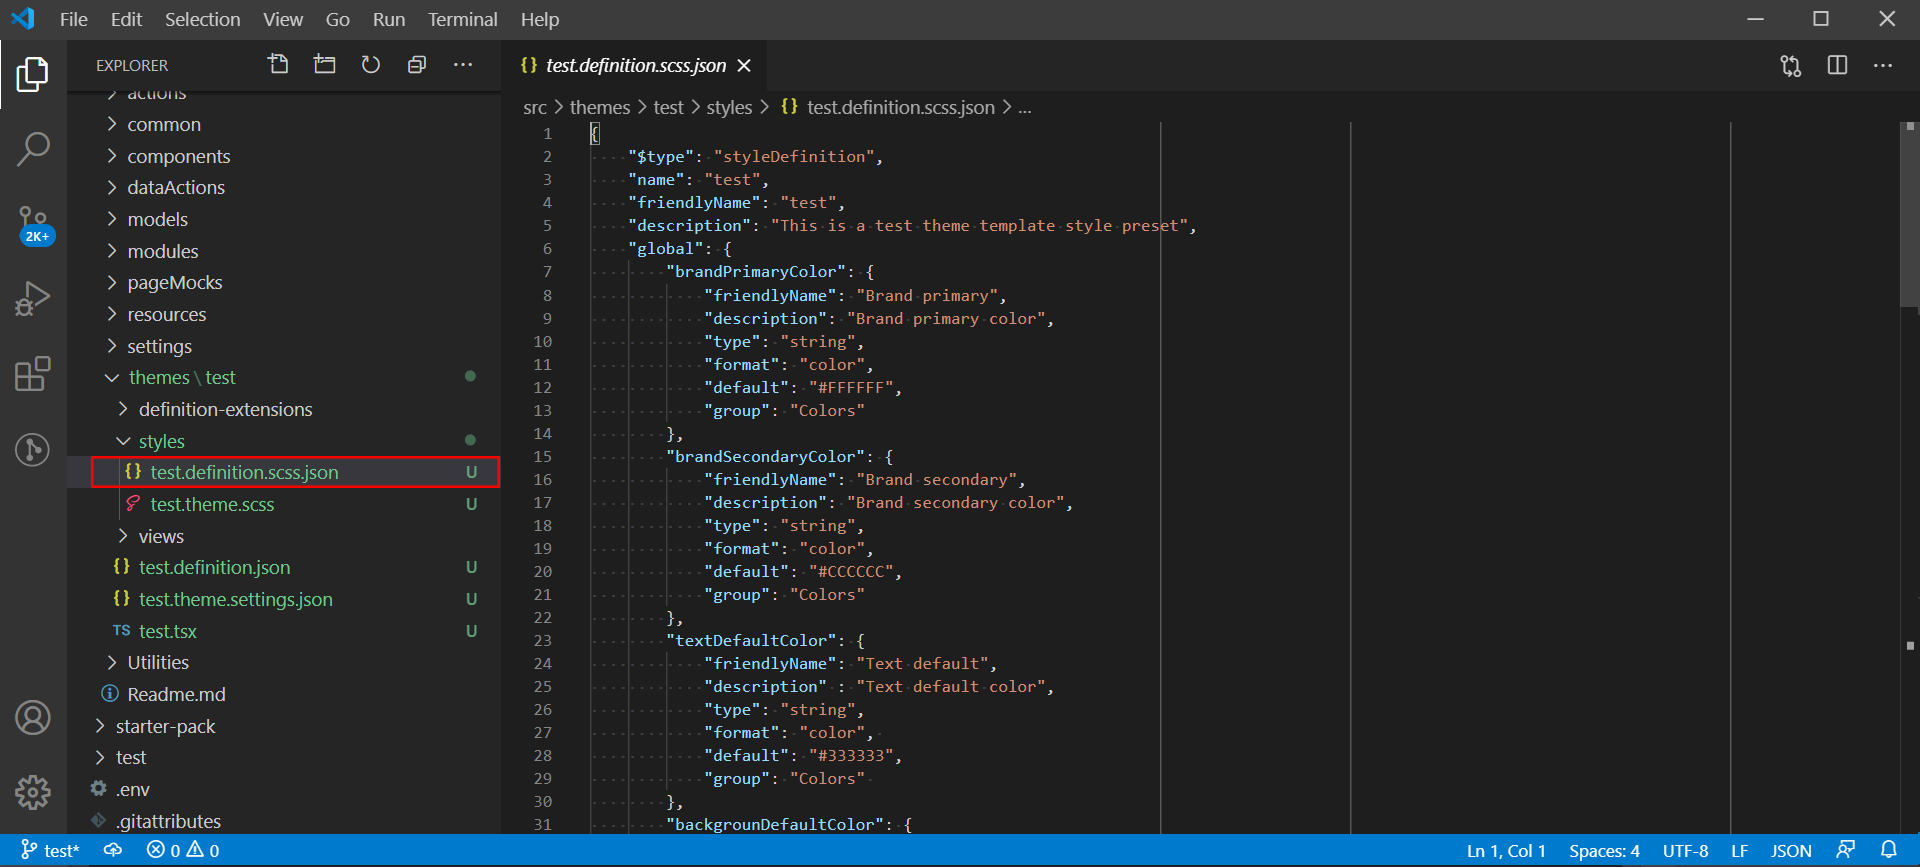
Style presets are already available in the starter kit theme. If you are interested in having them in a brand new theme, creating it through the CLI automatically adds the style preset definition file under the theme’s /styles directory.
Theme Overrides
The Site Builder allows the author to upload Cascading Style Sheets (CSS) overrides in the settings if you don’t feel comfortable editing the theme yourself or do not have access to the SDK or LCS. In general, permanent styling should be handled directly in the theme. However, updating a theme has a rather long, prohibitive lifecycle due to the dependency on developers to make theme changes in the SDK and deploy these changes in the LCS. This can make site prototypes and hotfixes understandably cumbersome.
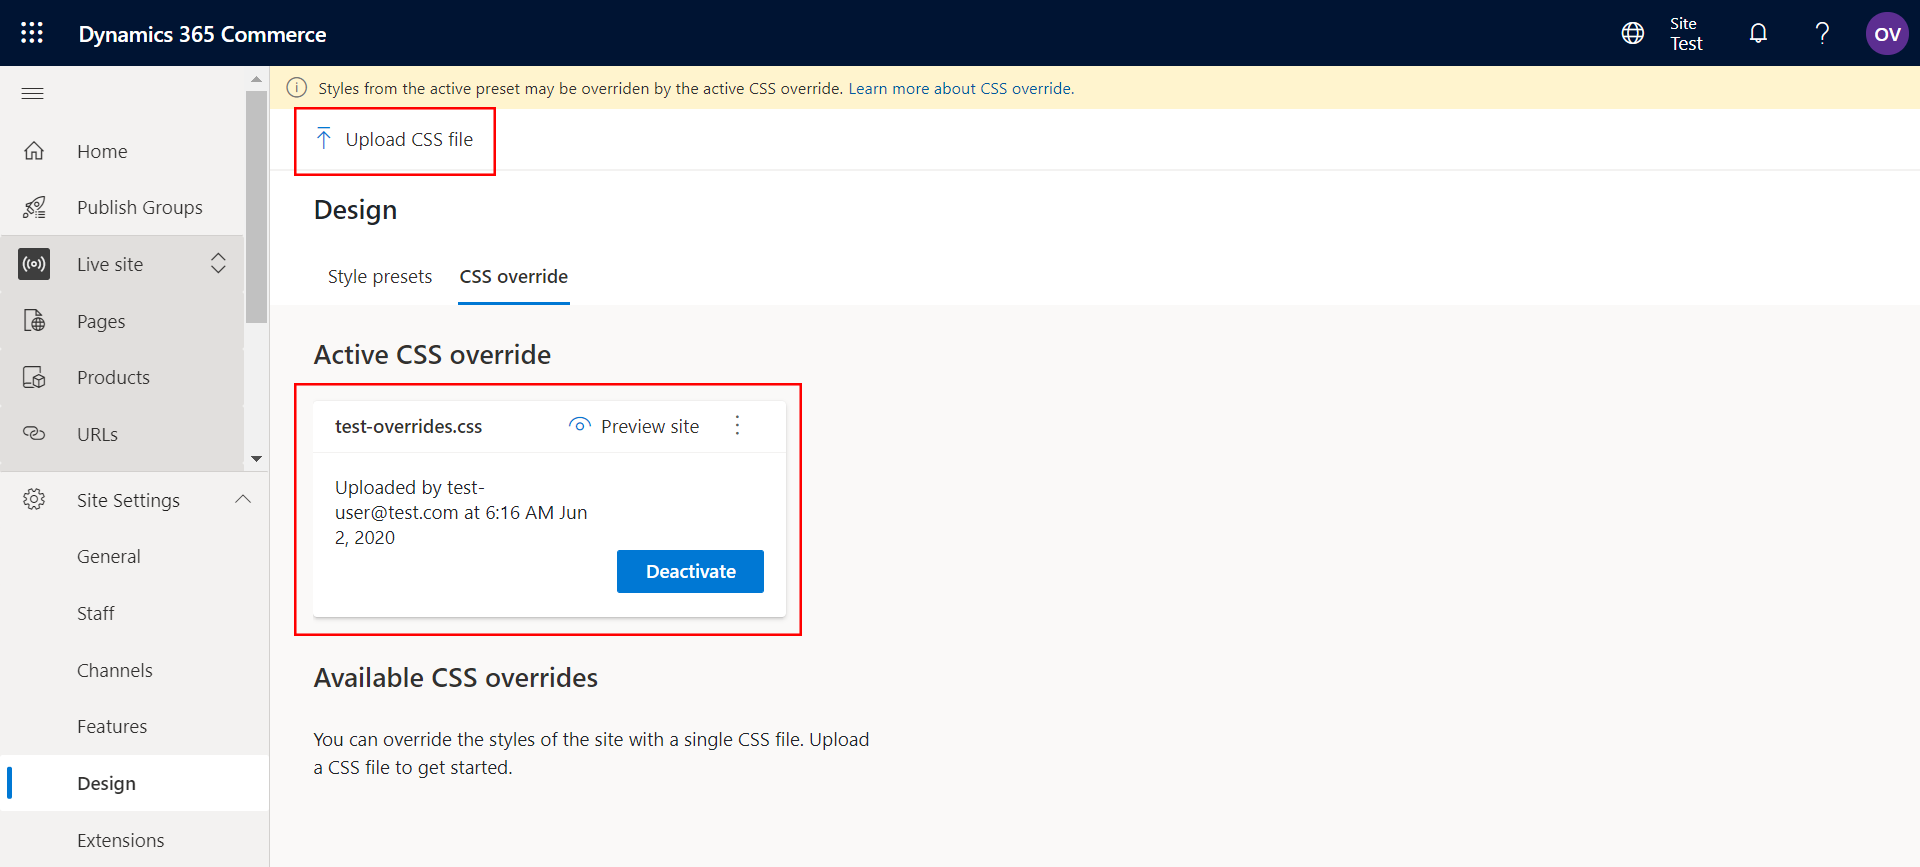
In the Site Builder settings, you can upload a CSS file, preview it, and activate it to override a site’s theme without any codebase changes or deployment. However, there are some limitations you will need to be aware of:
- Unlike themes that use SCSS, overrides use CSS. This can make reintegrating the changes to the theme more challenging.
- Only one CSS override file can be active at a time, so all overrides must be in a single file.
- Despite being able to preview the overrides, there are no dedicated debugging tools to help you identify any bugs that you could be introducing.
Nonetheless, this method gives you a quick way to prototype design, implement a hotfix, or tweak styles of a theme you may not have access to before a full theme update can be developed and deployed.
Theme Module Extensions
While SCSS is powerful, being able to customize styles alone is sometimes not enough to achieve the changes you want for a module layout. If you have managed to create your own theme in the SDK, you will notice that creating the theme through the CLI also created the /views and /definition-extensions directories in your theme folder. In some cases, you may need to make use of theme module extensions, which live in the aforementioned directories.
Themes let you include two types of extensions: view extensions and definition extensions. Customized module view extensions can be used to change the default layout of a module for a specific theme, while customized module definition extensions can be used to change a module’s configuration properties, slots, or resources. These module extensions are supported for both starter kit modules and custom modules. Because working with extensions requires basic knowledge of the SDK module structure, we will cover this complex topic in more detail in an upcoming post.
Intuitive Interfaces for Accelerated e-Commerce Growth
Microsoft Dynamics 365 Commerce continues to offer different options for customizing your site so you can guarantee your site’s attractive, intuitive interface that reflects your brand and products. Even for non-developers, the platform provides you with tools in the Site Builder to modify and tweak what you can with style presets and overrides.
This year, the coronavirus pandemic has rapidly shifted the e-Commerce landscape and accelerated the reliance on e-Commerce. As e-Commerce takes its place at the forefront of retail, it’s become more essential than ever to craft beautiful, high-quality experiences for your consumers so that they participate, engage, and emotionally connect with what you have envisioned for your brand. Dynamics 365 Commerce easily lets you do just that.
We at RSM US were the first Microsoft partner in the world to deploy with Dynamics 365 Commerce. Since then, we have implemented the omni-channel solution for several more e-Commerce sites and helped customize their online stores to establish a smooth shopping experience for their customers. If you are interested in a consultation to discuss your e-Commerce needs, don’t hesitate to contact us at ecommerce@rsmus.com or 800.274.3978.

 RSMUS.com