
 RSMUS.com
If you are struggling to change a display name field created from SmartList Designer, there are a few steps you can take to customize.

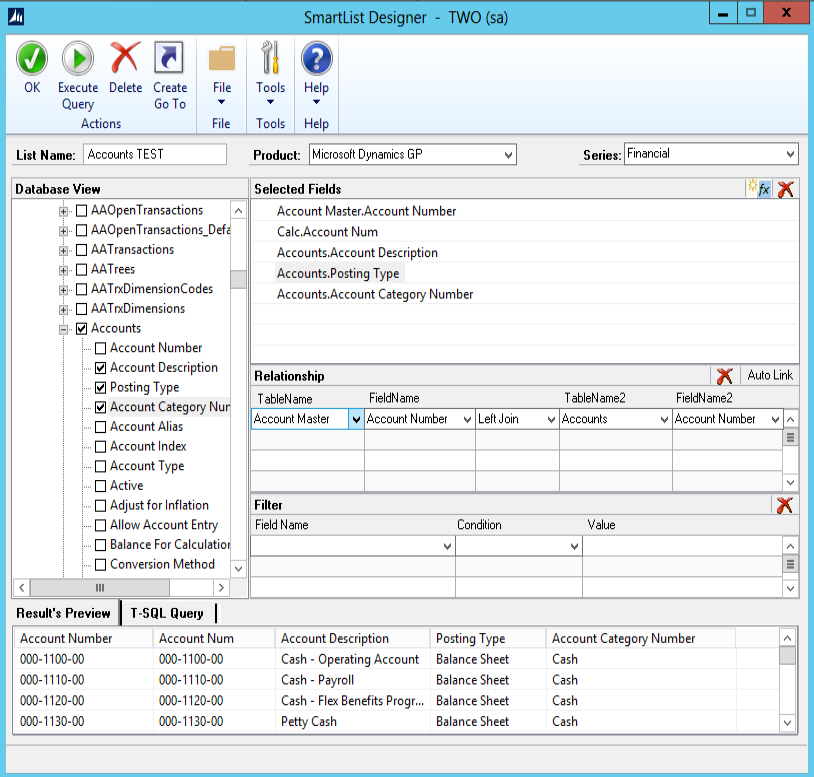
Typically, even custom named items will revert to a default. However, if you create a calculated field you can customize to a desired display name.
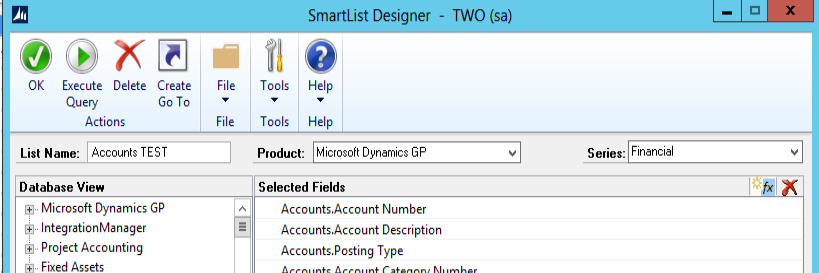
- Go to “Modify” and the SmartList Designer window will appear.
- Add a calculated field.
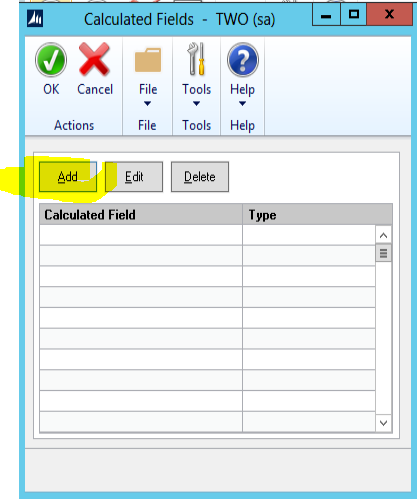
- The Calculated Field window will appear.
- Click on the “Add” Button to add the new calculated field
The create expression window will appear. Then you will follow these steps:
- In the name field type in the display name you want to see
- In the Table Fields Tab choose the Account Master table on the left side of the window
- On the right side of the window, find the field and double-click to populate the expression window below
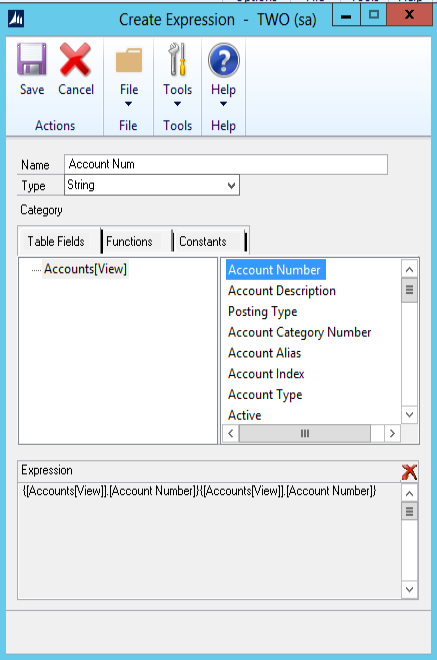
- Once you save the expression you will get a pop-up that the expression is valid.
- On the design screen, you will see the new calculated field.
- If you refresh, you will see the desired label display.
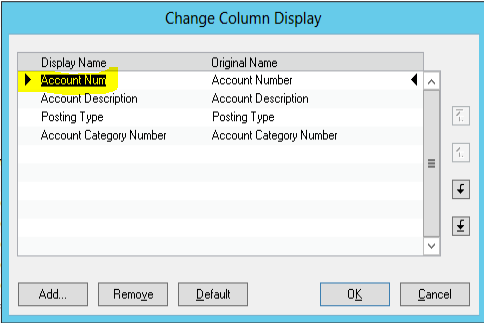
- Once this is working as needed you can go back into the “Columns” and remove the column you no longer need.

To learn more about how you can take advantage of this and other Dynamics GP features, visit RSM’s Microsoft Dynamics GP resource. To make sure you stay up to date with the Microsoft Dynamics Community, subscribe to our Microsoft Dynamics Community Newsletter. For more information on Microsoft Dynamics 365, contact us.
By: Sherry Lambe