In Dynamics 365 Customer Engagement (D365 CE) there is an out of box report called “User Summary”. This report can be access in the Reports area of D365 CE. This report gives Administrators the ability to see users title, email, main phone, and most importantly the security roles users are assigned. While this report is meant to be very basic and straight forward, it is also cumbersome to use in a large organization with many users. Not to mention, a little difficult to read.
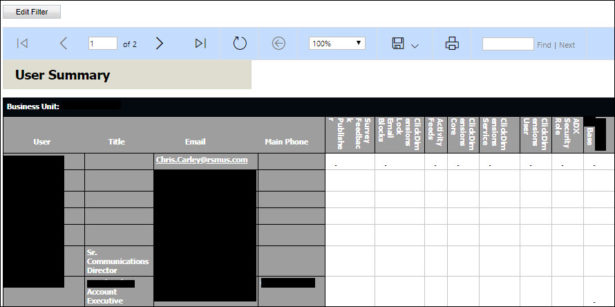
XRMToolbox has a better solution. A plugin called “Users, Team, and Security Role Report”. This plugin allows you to generate an excel document with the same basic information as the out of box report, but with already created pivot tables and pivot charts to more easily consume the data.

XRMToolbox is a free PC application for D365 CE administrators (recommended but not a requirement) and has many helpful plugins that make working with your D365 CE environments much easier. Click here to be taken to XRMToolbox website to download and review other information for the solution.
Generate Initial Report
After configuring XRMToolbox to your connect to your desired D365 CE environment, ensure the Users, Team and Security Role Report (UTSRR) plugin is installed in XRMToolbox. Begin by connecting to your desired environment, then open the UTSRR plugin. Leaving everything as default, click Load Data.
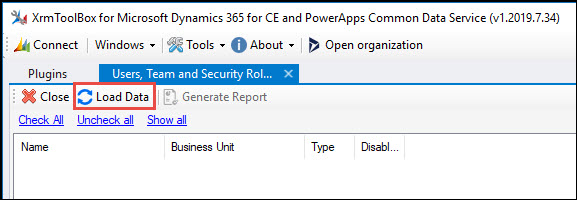
After all the active users and active security roles load, click Check All in the left pane to check all the users. Then click, Generate Report. You’ll need to choose where to save the two files that we will be generated after clicking Generate Report. Remember this location as you’ll need it in future steps.
Generate User Data
On your PC, open Excel. Click on the Data tab. From there, in the “Get External Data” area, click From Text.

In windows explorer, navigate to where you saved the files after clicking “Generate Report” in XRMToolbox. There should be a file that starts with “ActorRoleData{year}{month}{day}…”. This file is a .csv file. Select this file and click import. A Text Import Wizard will pop up.
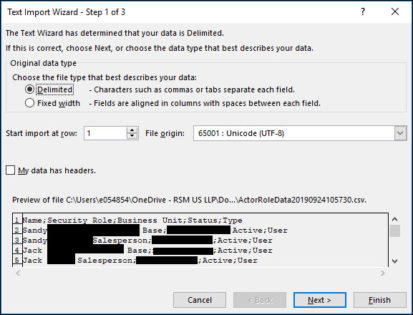
In Excel Text Import Wizard Step 1 of 3, leave the defaults. Click Next.
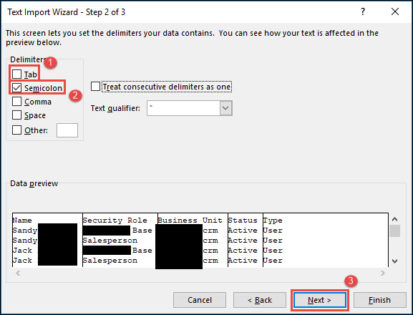
In Step 2 of 3, uncheck the Tab box, and check the Semicolon box. Click Next.
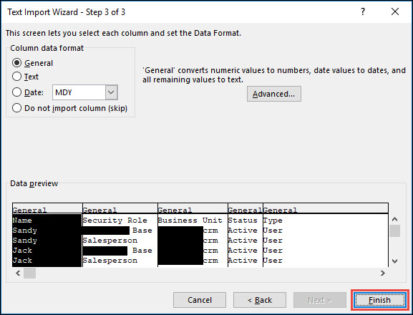
In Step 3 of 3, you’ll now see a preview of the columns separated. Click Finish.
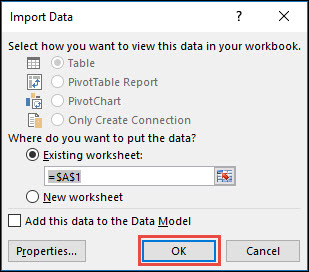
The final window will appear asking where you want to import the data generated. Leave the defaults and click OK.
You should now have an Excel doc with proper columns and data in those columns. You may save this file, but it’s not necessary. Keep this file open, as you’ll need to copy this data into a different excel document in the next step.
Generate Final Report
In windows explorer, navigate to where you saved the files after clicking “Generate Report” in XRMToolbox. There should be a file called “ActorSecurityRoleReport”. Open this file. Navigate back to your other Excel document you generated in the last step. Copy the five columns of data, not including the column headers (Name, Security Role, Business Unit, Status, Type). You should have something that looks like this.

After you’ve pasted the data, click the Data tab, then click Refresh All. Save As the report and rename a friendly name you’ll be able to recognize more easily.

Have fun clicking around the tabs, Graph, Security Role, Actors, and Business Unit to review the different ways you can consume this data.

 RSMUS.com