Configuring a Dynamics 365 portal can be a challenging task and due to this complexity, you generally would not want to have to recreate a portal when moving from one Dynamics instance to another. While there is currently not an out of the box way to move all portal customizations, XRMToolBox has a plugin to help us do just that.
The Dynamics 365 portal is configured and customized using more than a handful of records which can have deeply intertwined relationships with other portal records. Moving this data may seem daunting, but is actually one of the simpler aspects of portal configuration thanks to the Portal Records Mover plugin for XRMToolBox. (If you do not have XRMToolBox installed, click here to download.)
There are two main stages of migrating the portal records: exporting from the source instance and importing to the target instance. For the following tutorial, we will assume that your target portal type (e.g., Custom Portal, Community Portal, Partner Portal) is identical to the source portal type. If that is the case, you will only need to move new or modified records to the target instance.
Exporting
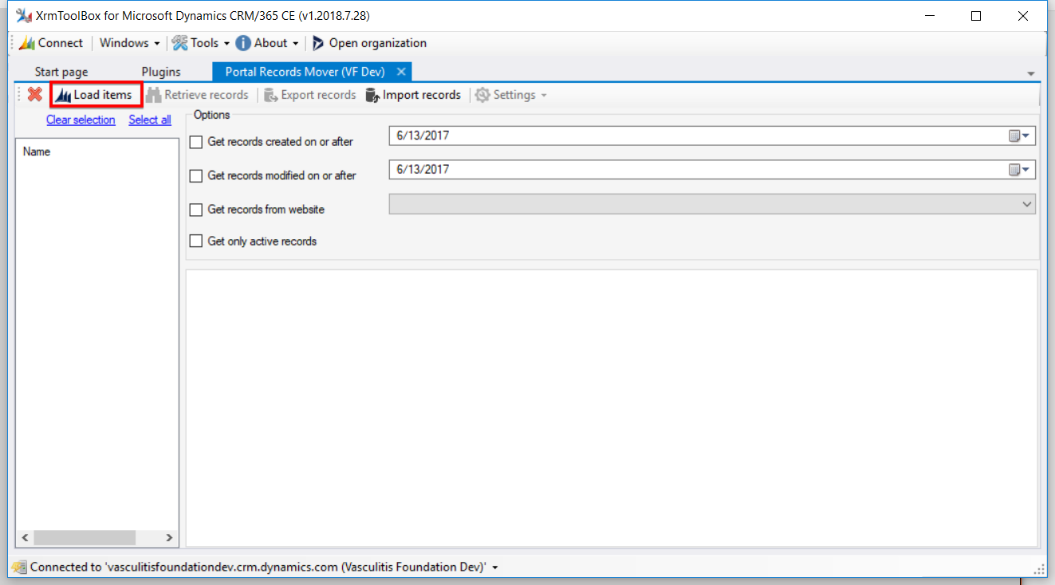
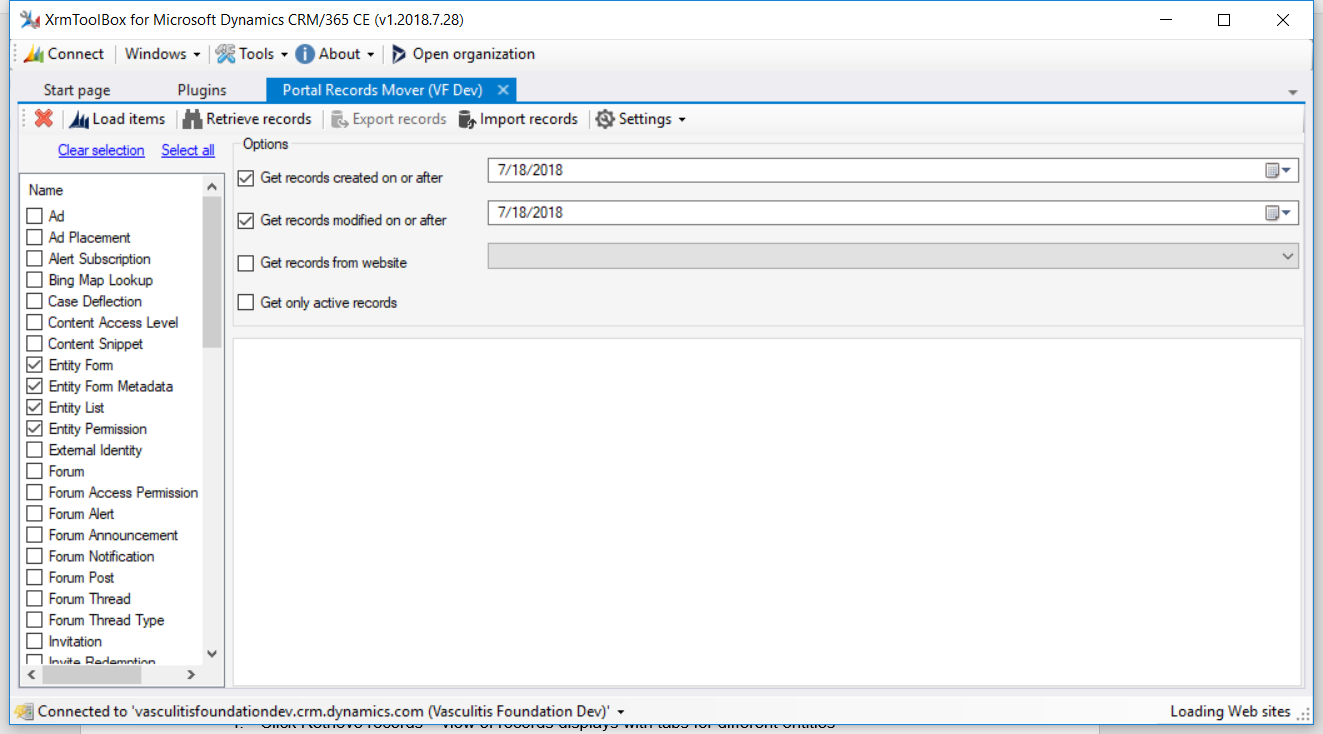
Begin by opening the Portal Records Mover plugin in XRMToolBox. Connect to the source organization and click Load items in the ribbon. A list of portal entities will populate in the left pane.
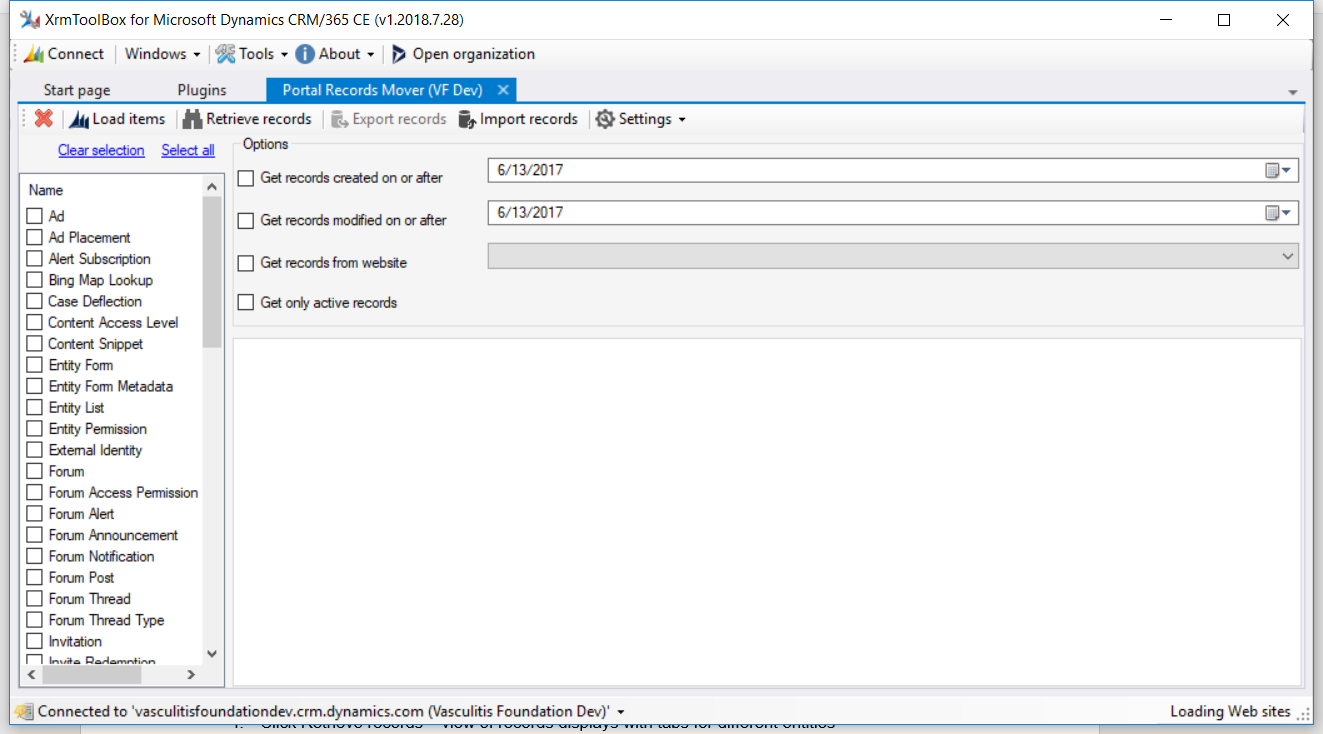
Select the entities you are interested in migrating.
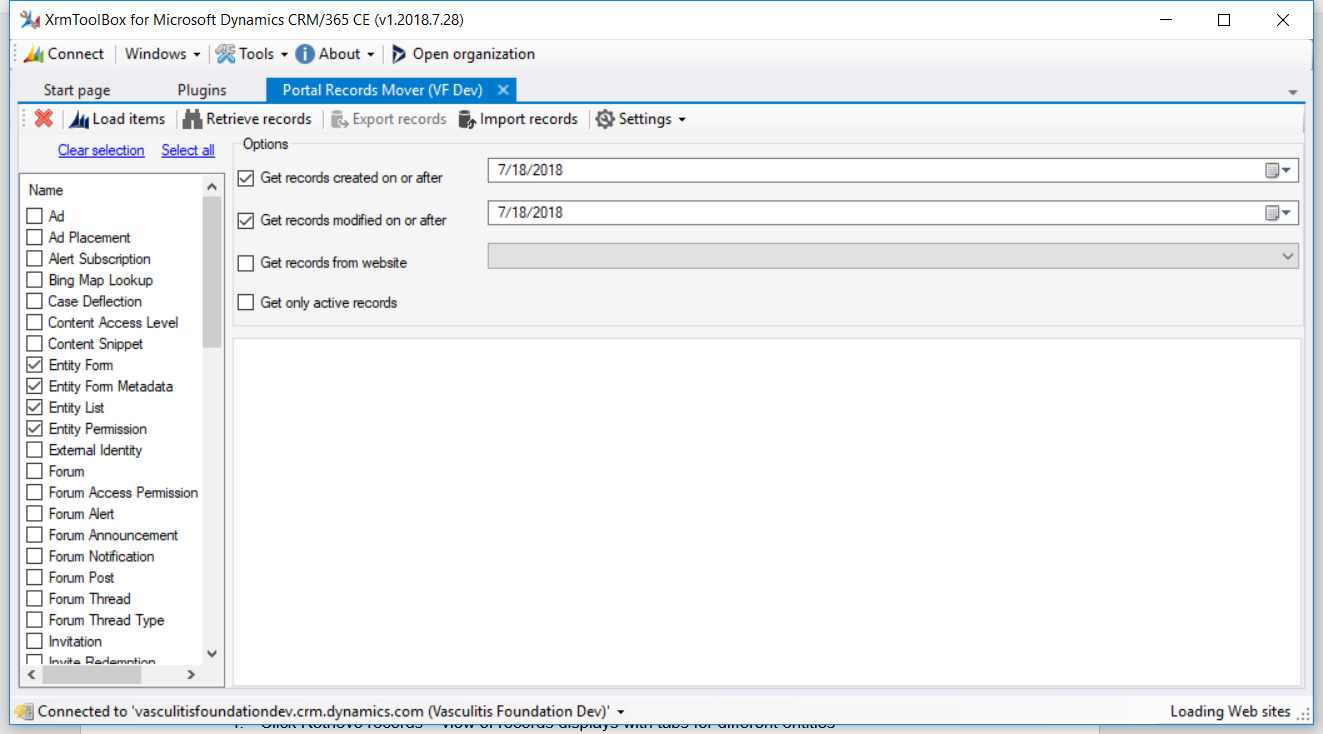
A helpful feature of the plugin is the option to filter the records by the modified or created on date. This will help you separate those custom or modified records from the records created when the portal was initially provisioned.
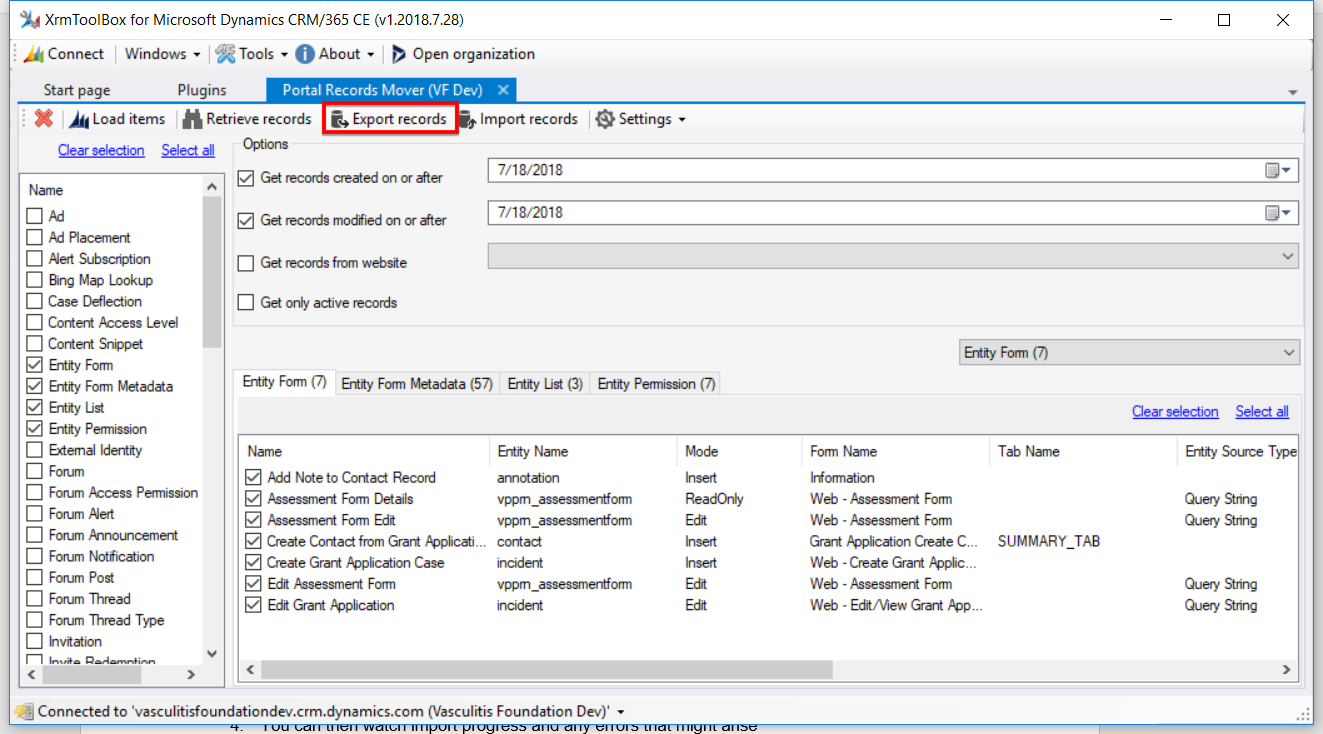
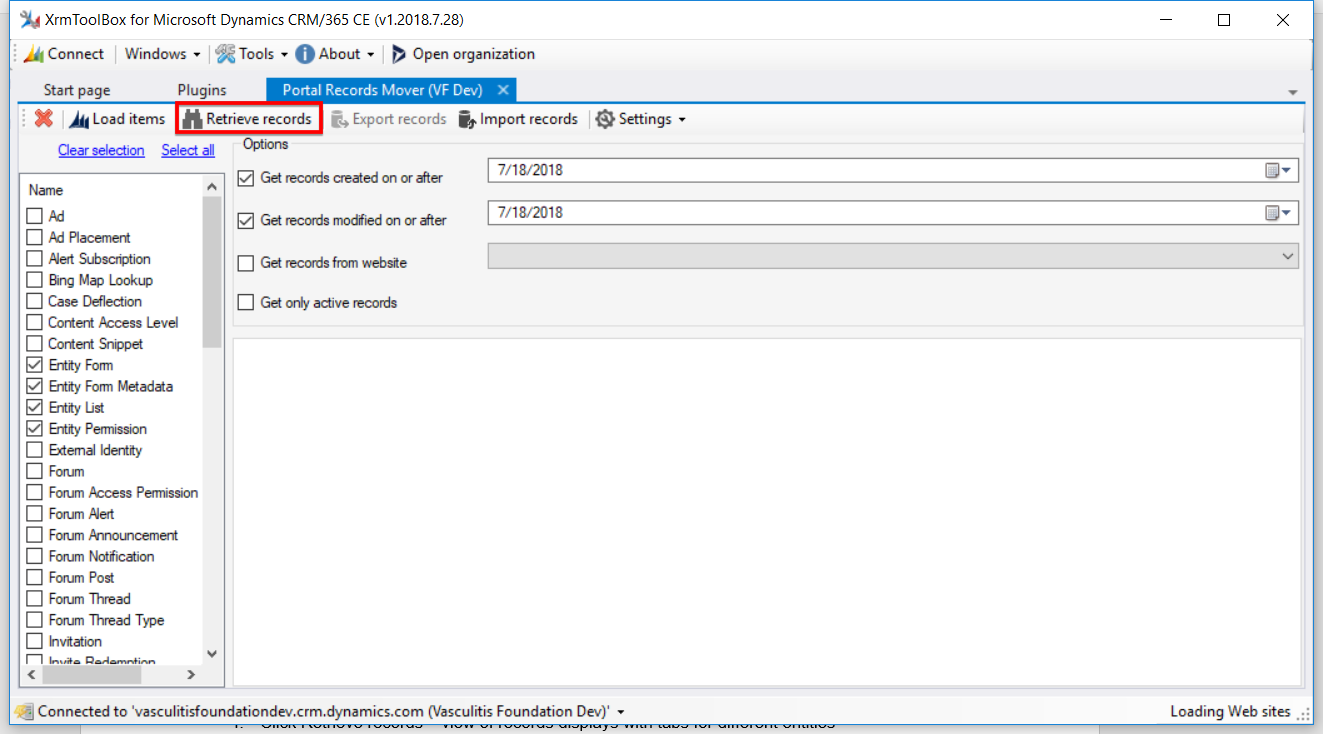
Click Retrieve records – a view of resulting records displays with tabs for each entity.
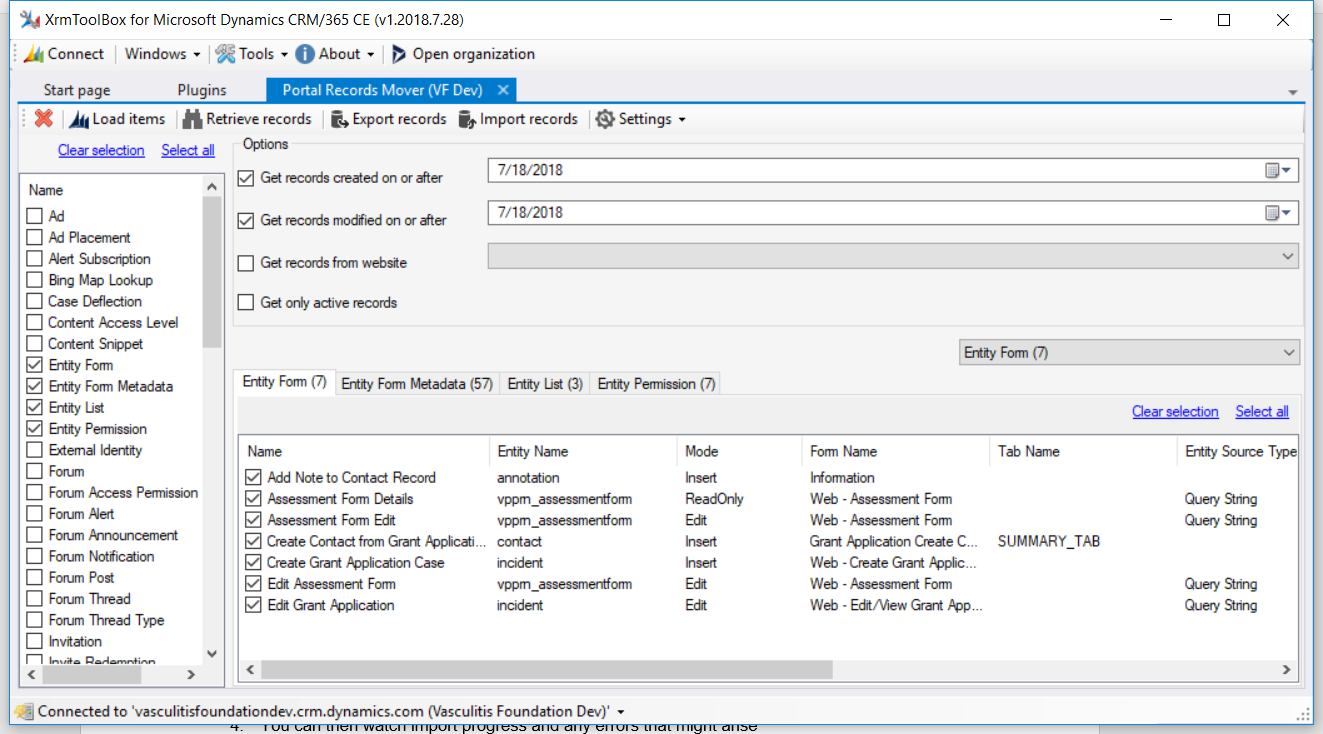
Select the records that need to be moved. Be sure to migrate any modified records from the Notes entity. This is where the actual files are housed for certain records such as the theme or bootstrap web files.
Click Export records – select where to save your file and click ok. This will export your records as an XML file and a success message is displayed.

Importing
Open a new Portal Records Mover tab and connect to your target organization. Click Import records, select the file you just exported, and click Import.
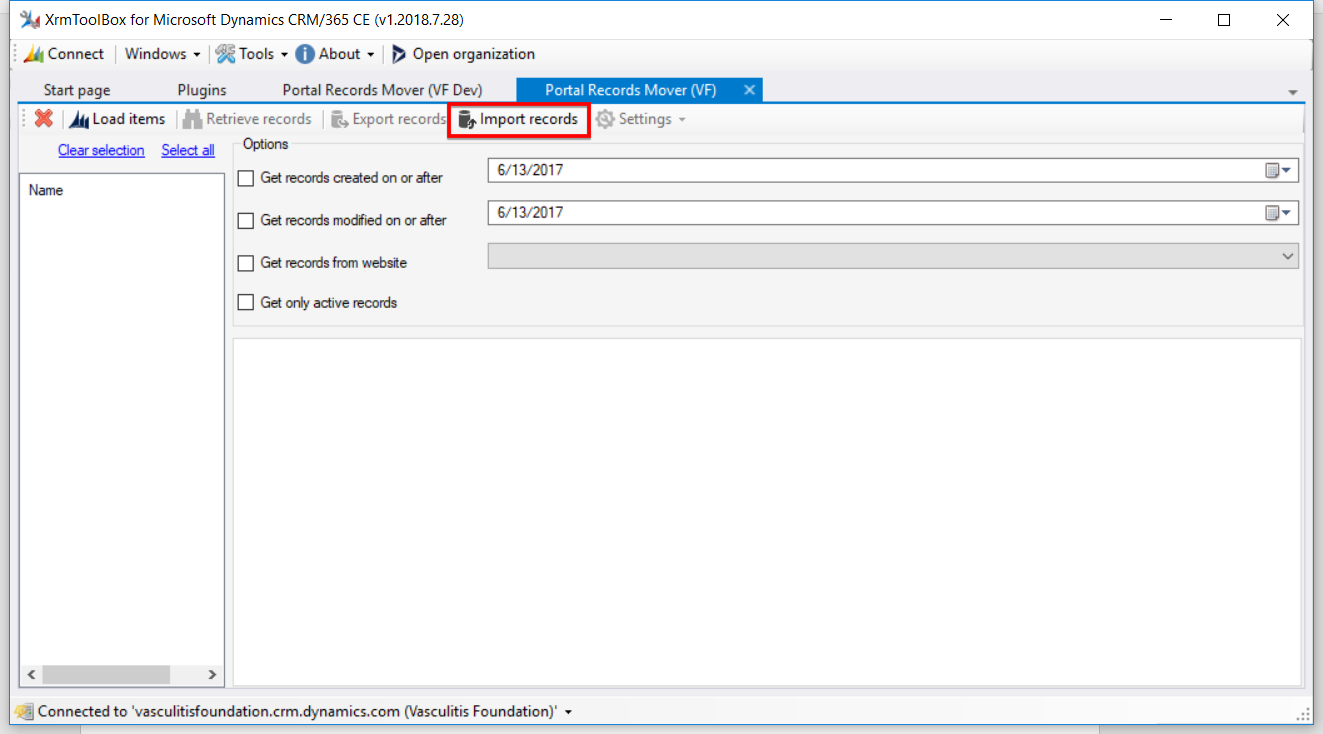
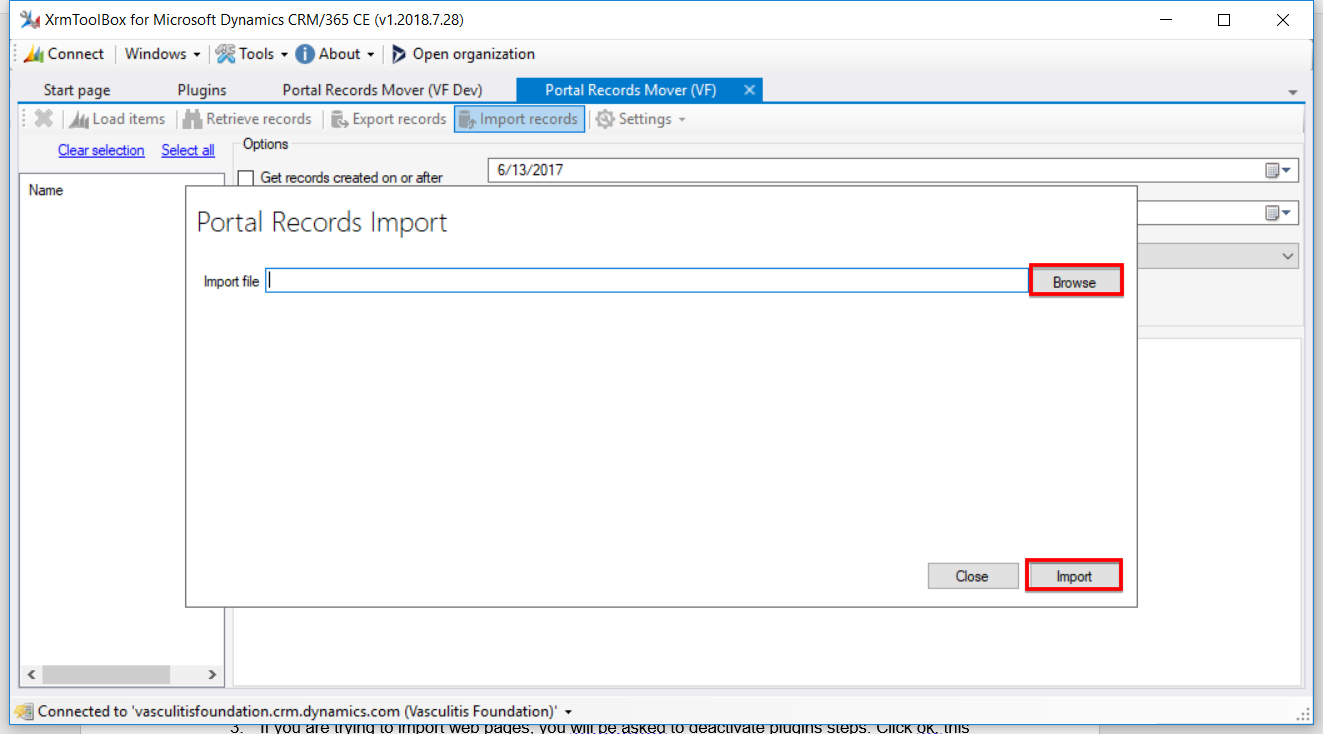
If you are trying to import web pages, you will be asked to deactivate plugins steps. Click OK, this prevents duplicate web pages from being created. You can then watch import progress and any errors that might arise. And that’s it! You have officially migrated your portal customizations.
To learn more about how you can take advantage of this App and other Dynamics 365 features, visit RSM’s Microsoft Dynamics 365 resource. To make sure you stay up to date with the Microsoft Dynamics Community, subscribe to our Microsoft Dynamics Community Newsletter. For more information on Microsoft Dynamics 365, contact us.
By: Nia Murphy

 RSMUS.com