
 RSMUS.com
In Microsoft Dynamics CRM 2013 Online, there are a great deal of changes to how Microsoft Dynamics CRM will manage e-mails via workflow and other processes.
When a user is set-up within the Office365 portal for an instance of Dynamics CRM 2013, their user id e-mail will push to Dynamics CRM into a mailbox as ‘xxxxxxx@domainname.onmicrosoft.com’. After initiating that license, a Dynamics CRM user with admin rights to the settings module of Dynamics CRM must go to make changes within Dynamics CRM to ensure that the user is enabled for sending e-mails via the Outlook Client.
STEP 1: Check that the mailbox is configured properly.
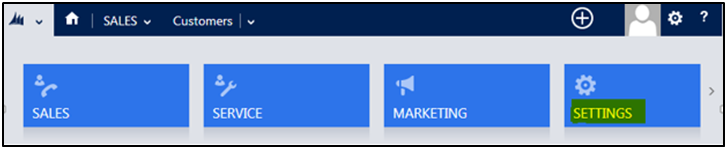
Go to the Settings Module
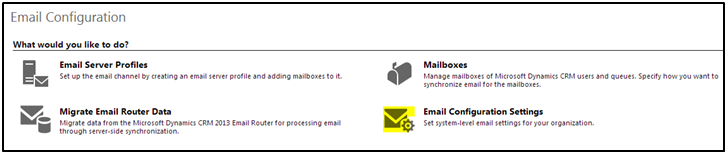
Scroll to the E-mail Configuration and click to open.

After selecting E-mail Configuration, go to E-mail Configuration Settings.
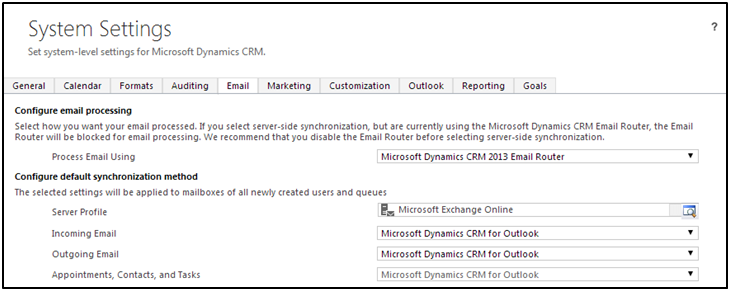
If you are wanting to send e-mails automatically within CRM via the Outlook client, change the System Settings for e-mail to the following:
Process E-mail Using: Microsoft Dynamics CRM 2013 E-mail Router
Server Profile: Microsoft Exchange Online
Incoming E-mail: Microsoft Dynamics CRM for Outlook
Outgoing E-mail: Microsoft Dynamics CRM for Outlook
Appointments, Contacts, Tasks: Microsoft Dynamics CRM for Outlook
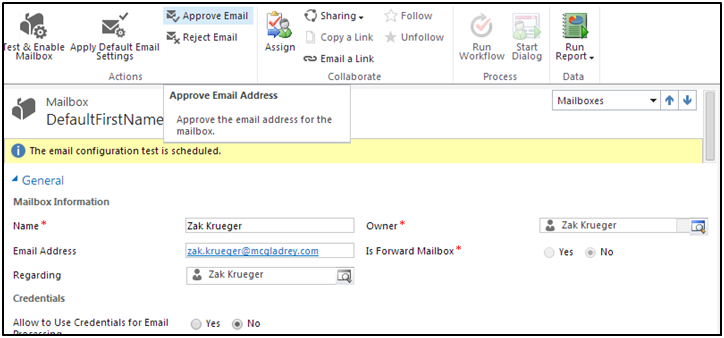
STEP 2: Validate and approve the e-mail address of the user.
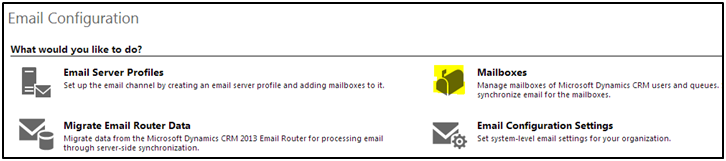
Go to the E-mail Configuration page in the Settings module and select Mailboxes.
Check that the E-mail Address field on the Mailbox record has the user’s work e-mail. NOTE: If the user plans on utilizing the Dynamics CRM for Outlook Client, they must enter in their work related e-mail in this field and approve before Dynamics CRM can send e-mail messages on the users behalf via Outlook.
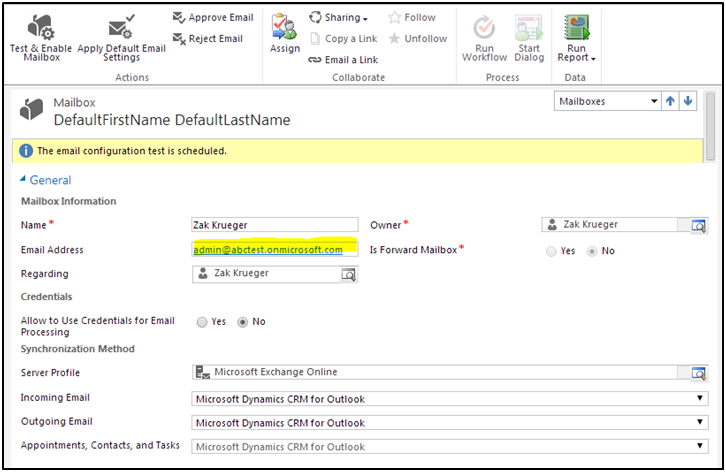
Change the E-mail address to that users work e-mail and click Approve Email in the top ribbon.
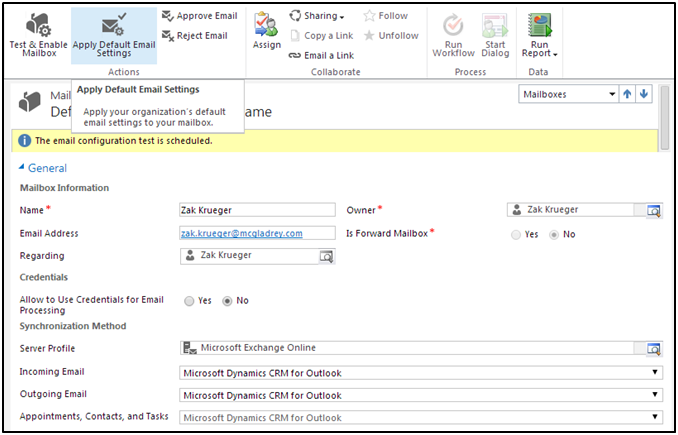
STEP 3: Apply Mailbox System Settings for your mailbox.
Go back to the E-mail Configuration page in the Settings module and select Mailboxes.

After opening up a mailbox Record, confirm that the Synchronization Method section is the same as the default system settings from above.
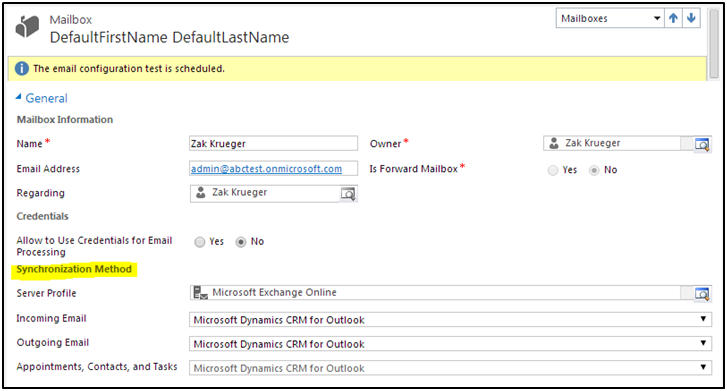
If the settings are not set to the same as the default system settings, click in the top ribbon of the form for ‘Apply Default E-mail Settings’
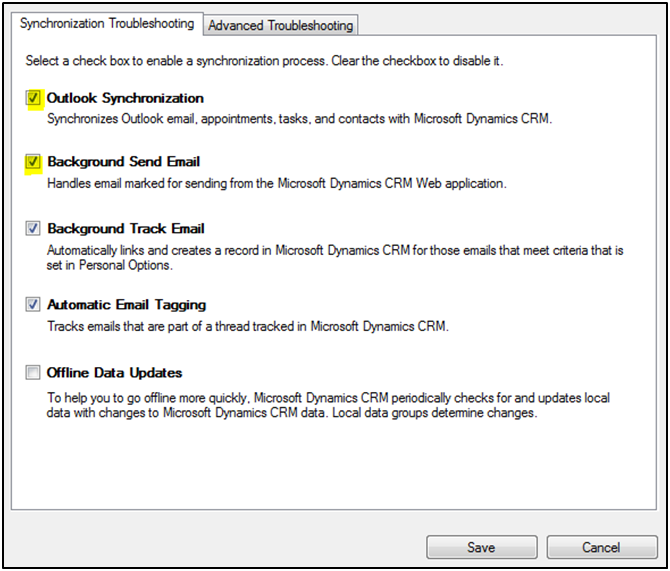
STEP 4: Diagnostics check
Go to the Start menu on your machine and go to the Diagnostics program.
From within Diagnostics, ensure that the first and second option are selected in the window. NOTE: by this will enable Dynamics CRM for Outlook to synchronize and send e-mails asyncrhonously via the Outlook Client tool.
If you are considering an upgrade to Dynamics CRM 2013, we can help. Our RSM CRM 2013 Upgrade Rapid Assessment® reviews your existing systems and identifies whether this is a upgrade is technical or a major upgrade where a significant number of changes will be needed before you can move to the Dynamics CRM 2013 solution. Contact our professionals for more information at crm@mcgladrey.com.
Read more articles on the new release of Microsoft Dynamics CRM 2013.
By: Zak Krueger – Microsoft Dynamics CRM partner in Minnesota