Did you know that you have the ability to publish reports to Excel? SmartList reporting has been around since the release of Dynamics GP 2015, but many users are still not aware that it exists or have been frustrated in getting it setup and working. Below are some things you need to understand before you can begin publishing your reports to Excel:
1. You may have noticed that the Publish button in the SmartList window at times is grayed out. The Publish button will not be available for any of the following reports: default SmartLists, Favorites of default SmartLists, modifications of SmartLists created by Designer, custom SmartLists created in Designer using a Microsoft Dynamics GP table, or for any reports created using SmartListBuilder.
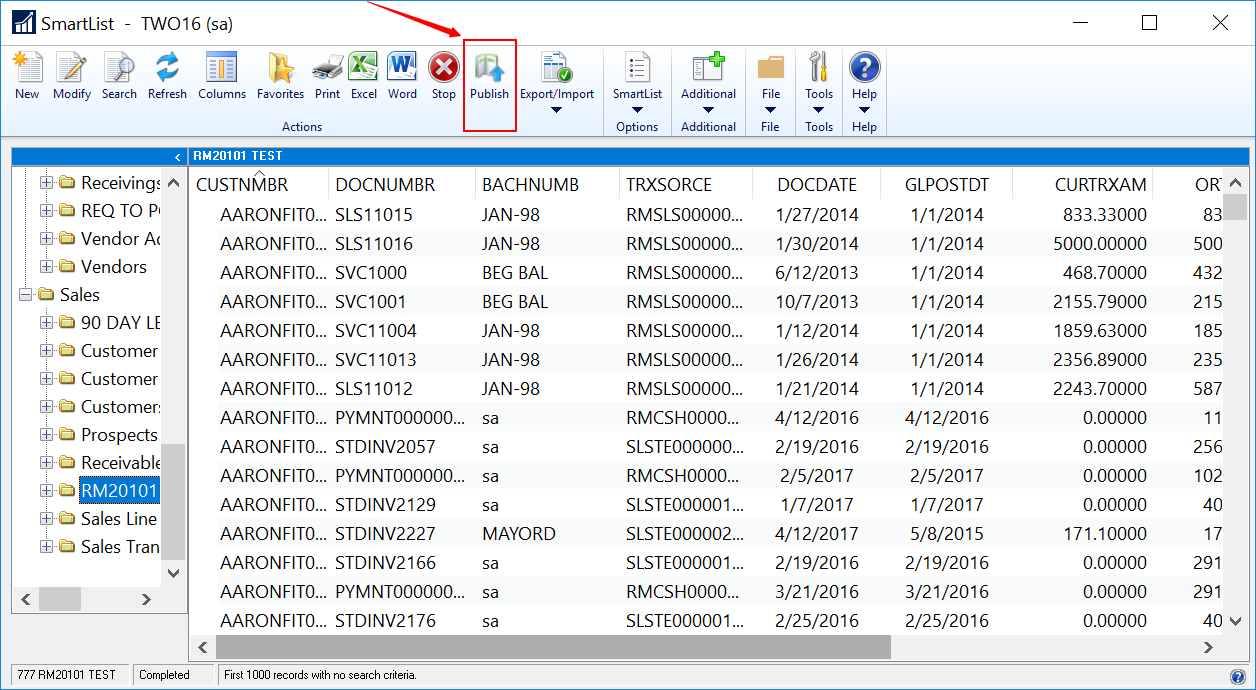
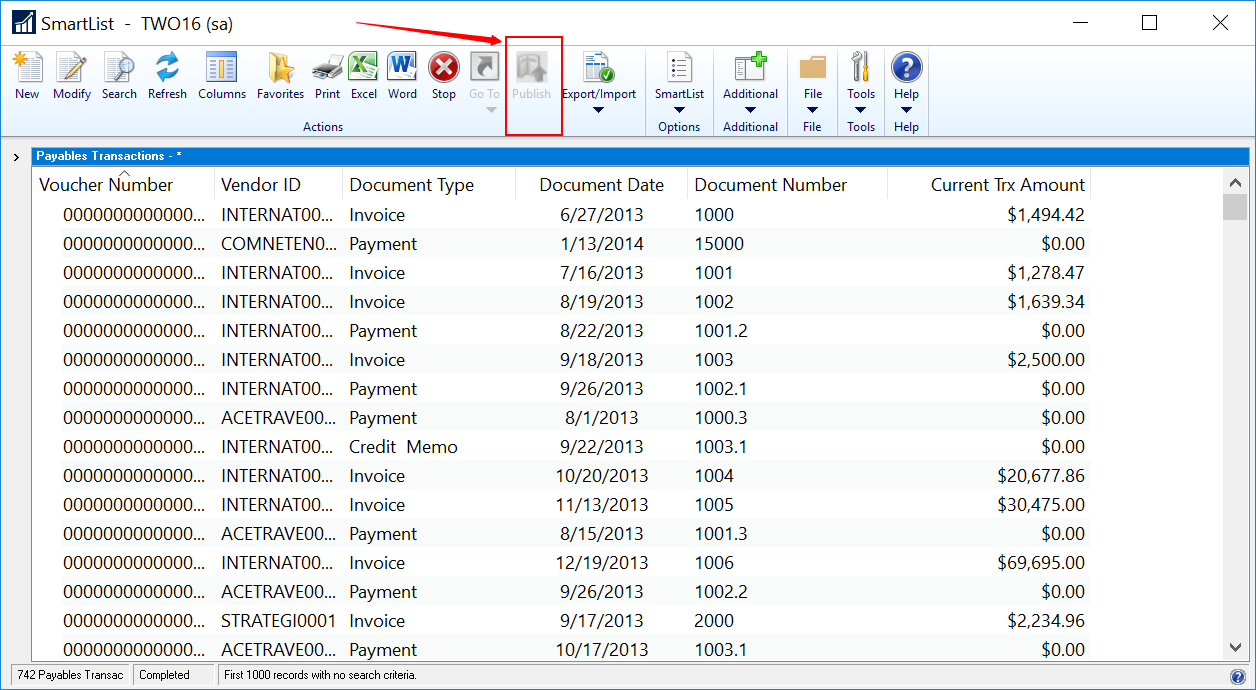
2. The Publish button will only be available for reports created with SmartList Designer that use a SQL view.
3. Excel Reports must be deployed using the Reporting Tools setup window (Tools > Setup > System > Reporting Tools, and users should have Read/Write/Modify permissions to the share folder where the reports are deployed.
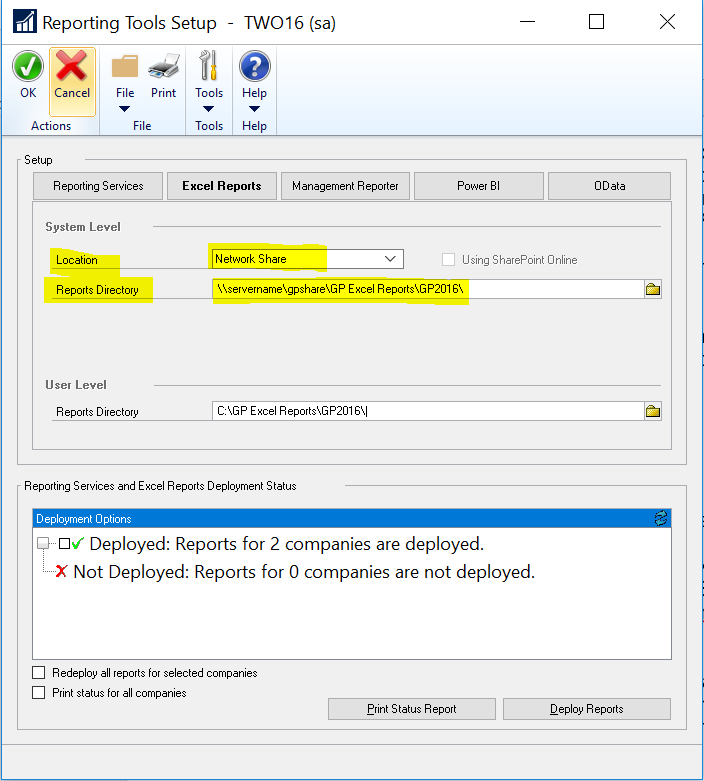
4. It is easy to setup your SmartList reporting and attach the view with the following steps:
- Open SmartList window and click on the ‘New’ button to open the SmartList Designer.
- Enter a name for the SmartList. Select the product and series where you would like this SmartList reporting to be visible in your SmartList window.
- From the ‘Database View’, scroll down and expand the Views folder and then the Company folder.
- The Company folder will display all of the Views available for your company. Select the view that contains the information for your report. For example, the view Account Transactions will contain the same columns as the default ‘Account Transactions’ SmartList. Once you select a view, the window will populate the ‘Selected Fields’ section of the Designer window.
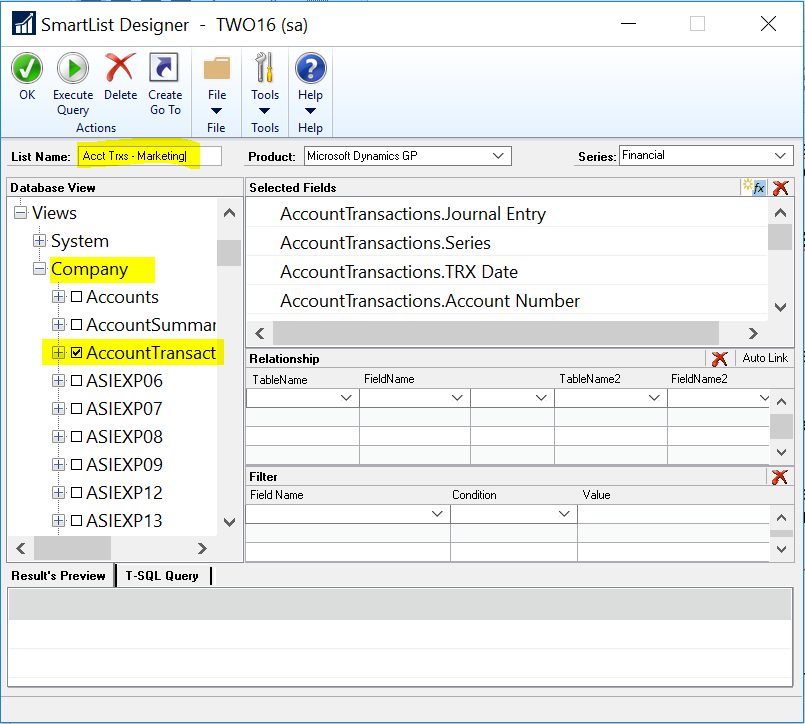
- Click OK to save your changes. The SmartList will be displayed in the SmartList window under the Series you specified in the Designer window when it was created, such as ‘Financial’ for the Account Transactions view.
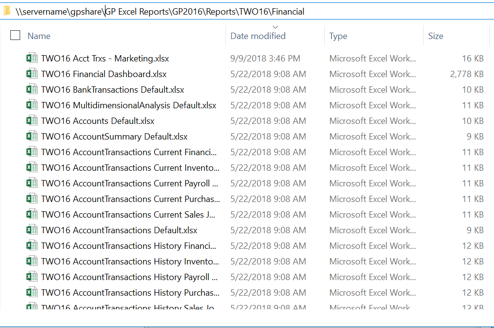
- When you open the new SmartList, the Publish button will now be available. Click the Publish button to create an Excel Report in the location previously chosen to deploy the reports. The report will be located in the Reports folder under the associated company and series folder for that report.
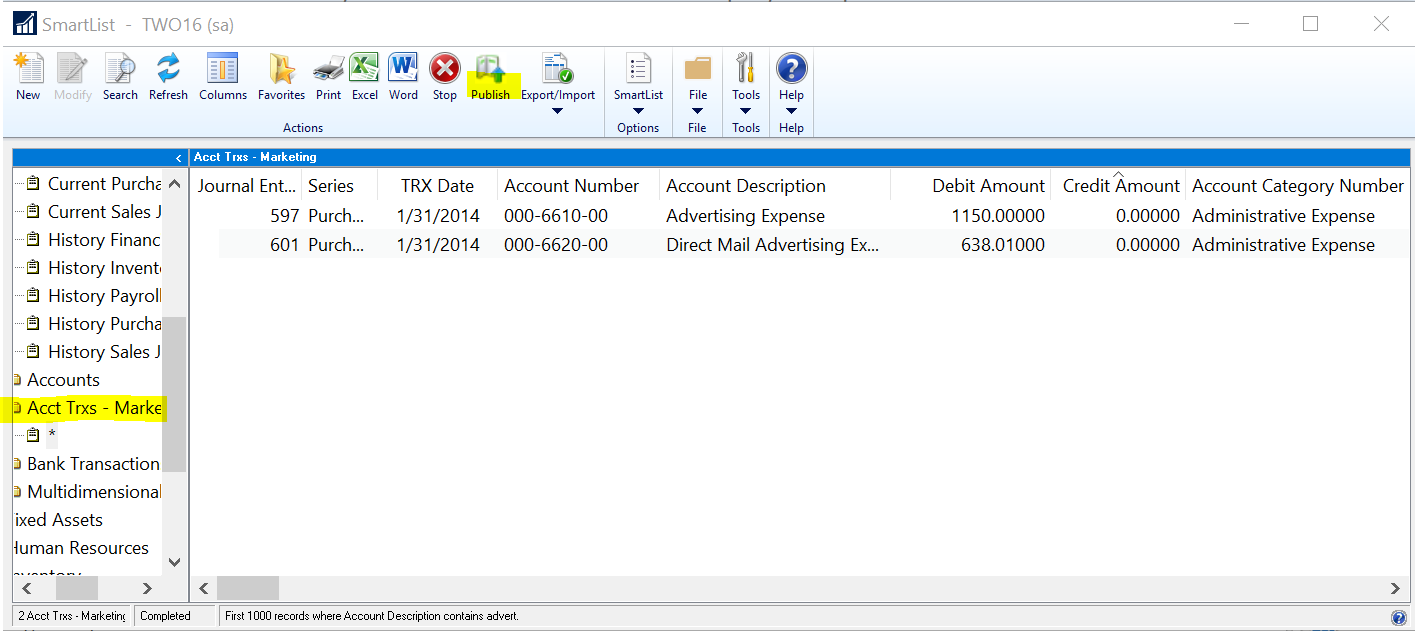
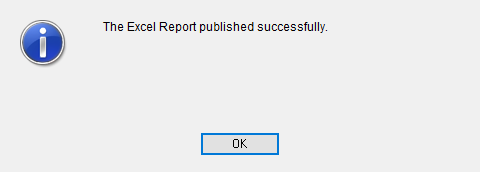
After clicking the Publish button, you will receive the message below:
The SmartList report will save to the shared location specified in the Reporting Tools Setup window beneath the Reports and Data Connections folders and in the Company/Series folder designated when the report was created.
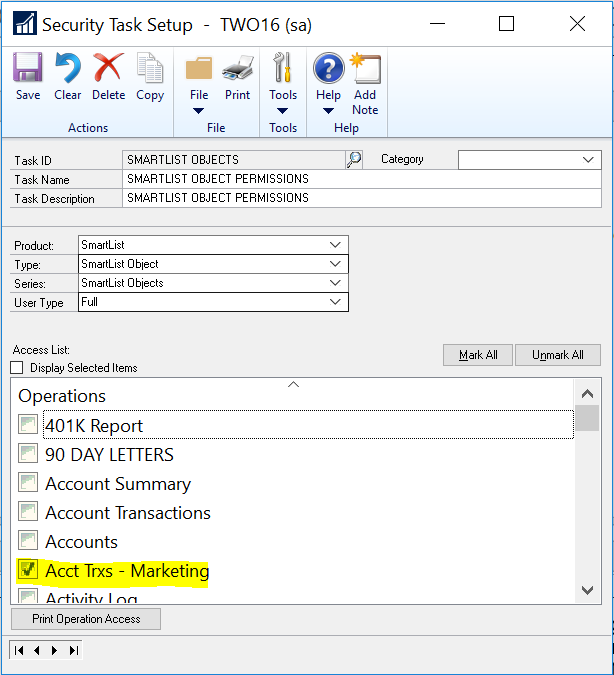
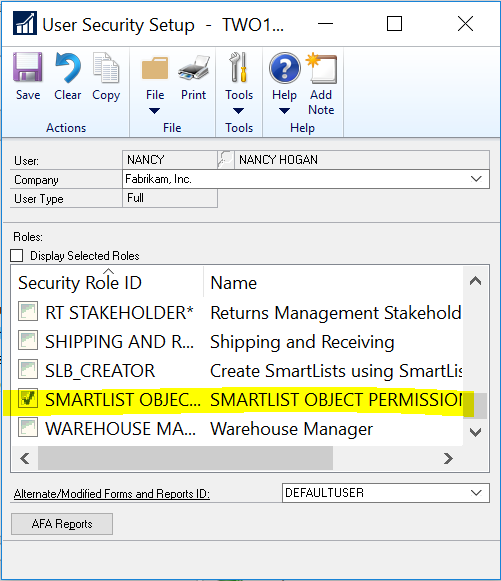
If the user is not SA or a Poweruser, you will need to grant them access to the SmartList Object through one of their Dynamics GP security roles and task. See example below:
- Create a Security Task, and mark the SmartList Object you created.
- Create a Security Role to correspond to the Security Task, and assign the task to the role.

- Assign the ‘SmartList Objects’ Role to the user in the User Security window.
Note: If you currently own and use both SmartList Designer and SmartList Builder to create reports and are having trouble identifying the tool used in the creation of your reports, you can query this information in the SQL tables. The ADH0100 table will show reports created in SmartListDesigner. The SLB10000 table contains the reports created using SmartList Builder. Within the application, you can also see a list of reports created using the SmartList Builder Tool by going to the SmartList Builder window (Tools > SmartList Builder > SmartList), and click on the look up button to get a list of your custom SmartLists.
To learn more about how you can take advantage of this and other features, visit RSM. To make sure you stay up to date with the Microsoft Dynamics Community, subscribe to our Microsoft Dynamics Community Newsletter. For information on Microsoft Dynamics 365, contact us.
By: Nancy Hogan

 RSMUS.com