Creating custom charts and views
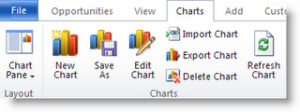
To create a custom chart navigate to the entity you wish to create the chart for and select the charts tab on the ribbon
- Enter a chart name
- Select the Criteria
- Select Save on the Ribbon
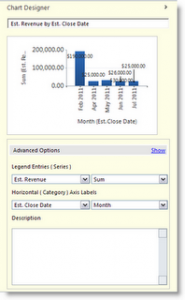
The chart is also filtered based on the view you are currently in, therefore if you moved from “My Open Opportunities” to the “Open Opportunities” view the graph would refresh with the opportunity data for the entire organization.
In Microsoft Dynamics CRM 2011, the System Views and Personal Views are all grouped under a single button.
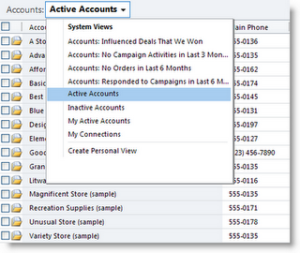
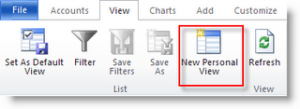
You have the option to create a Personal View. Once you click the Create Personal View option or click the ribbon button, a form appears similar to an Advanced Find window.

Dashboards
Microsoft Dynamics CRM 2011 had added some greatly enhanced functionality, one of those enhancements includes out of the box dash boarding and the ability for users to create, customize and set their default dashboards to be whatever they chose.
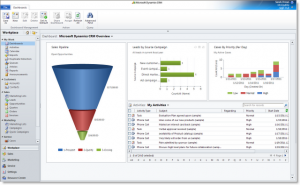
The default view in the workplace in Microsoft Dynamics CRM 2011 is the dashboards area. Out of the box the dashboard defaults to the Microsoft Dynamics CRM Overview, which includes charts around Sales Pipeline, Leads Source and Cases by Priority as well as a list of the open activities for the logged in user.
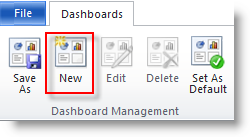
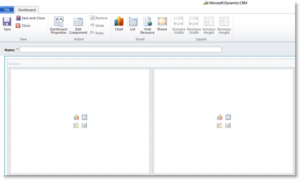
To create a new custom dashboard in Microsoft Dynamics CRM, navigate to WorkplaceàDashboards and select New from the Ribbon.
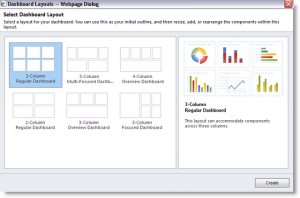
The Dashboard Layout form will open and you can select the layout for your dashboard, once you chose a layout select Create.
- Chart (Graphical Object)
- List (List of any type of record in the system)
- Web Resource (Custom Code)
- IFrame (View or Report Displayed)
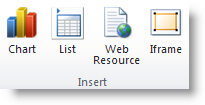
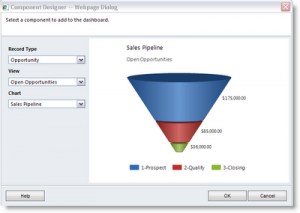
Using the component designer you can select the record type, view and type of chart you would like to add to your dashboard. You can also create custom charts using the chart designer (See Other CRM Functionality) by entity that will then be available to add to dashboards in this view.
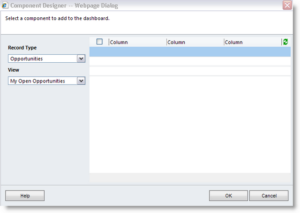
Using the component designer you can select the record type and view you would like to add to your dashboard. You can also create custom views (See Other CRM Functionality) by entity that will then be available to add to dashboards in this view.
Select the Chart you wish to add and then select OK.

 RSMUS.com