Many companies looking to integrate with Microsoft Dynamics CRM turn to Scribe Software, data migration and integration solutions for Microsoft Dynamics. As a Scribe MVP consultant, the power of this tool makes it a common choice for data integrity with integrations to the Dynamics CRM database.
The following information highlights connecting to the scribe console and some common troubleshooting techniques if you are running into connection issues.
Scribe Console Pre-requisites
Before configuring your Scribe Console site it is recommended that the following tasks be completed to ensure a successful connection.
Message Queueing Installation (Required for Integration)
Message queuing allows the Scribe Console to generate and publish out XML for real-time integration. To determine if message queueing has been installed navigate to Start > Computer Management.
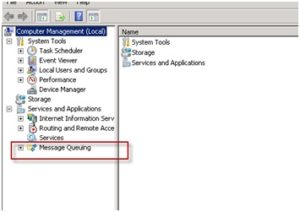
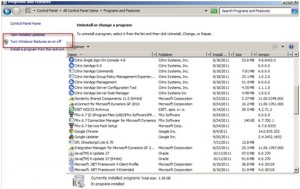
If you DO NOT see the following Message Queuing folder when expanding services and applications you will need to manually install message queuing on the Scribe Server. To install message queueing on the server navigate to Start > Control Panel > Programs and Features. Select to Turn Windows features on or off.
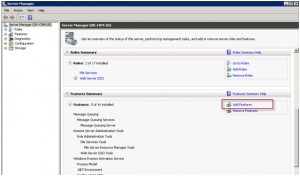
Select to “Add Features”
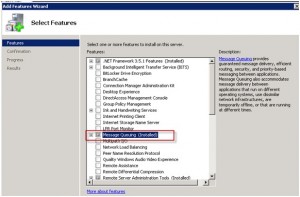
Select message queuing from the list of options. Once it has finished installing attempt to open the scribe server and create/connect a new site again.
Add your user to the Scribe User Group
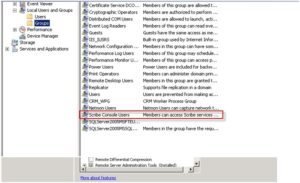
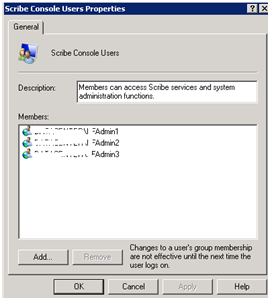
The Scribe Console Users group is a local server group that grants permissions to the Scribe Internal database and the Scribe Console. The user setting up the console should be added as should be a member of the Scribe Console Users group. To determine if you are and/or add your user to this group you can do so by:
- Navigate to start > Computer Management > Open the “Local Users and Groups folder and highlight groups
- Double click on Scribe Console Users
Services (Login User)
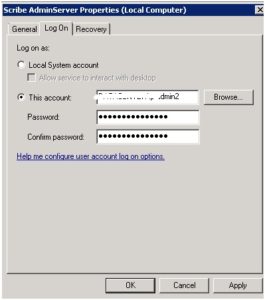
To ensure services are running with the correct level of security, change the login user running the scribe services as your (or another admin accounts) username instead of running them as the local system account.
To do so navigate to Start > Administrative Tools > Services. Find the 5 Scribe services.

Double click on each services. Change the logon user from the local system account to your username and password.
Connecting to the Console
After the previous items have been completed you are now ready to create your site and set up your integration. To begin open the Scribe console and select to “Add New Site.”
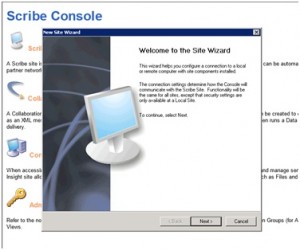
Select a Site Name and the name of the local server/machine and select Next.
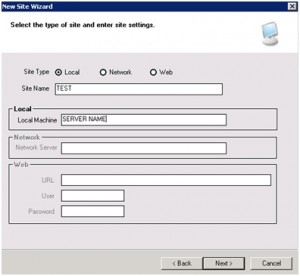
Then select to test your connection.
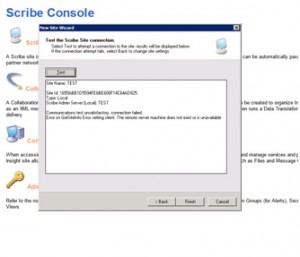 If the test connection is still causing errors contact Scribe support to further troubleshoot.
If test connection is successful you should see the following when navigating back to your Scribe console. The collaborations, integration server and administration folders should be available and accessible without errors.
Scribe solutions are simple to configure and provide ease of modification as business processes change. If you are looking to integrate with Microsoft Dynamics CRM, request a Rapid AssessmentSM from RSM to diagnose your CRM integration project.
By: Sarah Champ – Minnesota Microsoft Dynamics Scribe Elite Partner

 RSMUS.com